Asphalt is a tough substance that is used in driveways, parking lots and roads, however, as with any surface, asphalt may deteriorate over time as it is exposed to the elements. In order to retain its strength, appearance and longevity, it is necessary to seal your asphalt. The sealcoating is not only a way of improving the aesthetics of your property, but also a way of safeguarding it against the destructive nature of UV rays, water, oil and other harsh elements.
This guide will take you through the process of properly sealing asphalt so that your pavement remains in the best condition over the next few years. We will also cover the advantages, when to seal and how to get the best results.
What Is Asphalt Sealing?
Sealcoating or asphalt sealing is the act of coating an asphalt surface to protect it and increase its life. This liquid sealant forms a strong shield that assists in safeguarding the asphalt against destructive factors such as UV rays, water, oil, fuel, and chemicals. The sealant also resumes the black, even look of the surface, and makes it look fresh and new once again.
The sealcoating material is normally a mixture of asphalt, water and additives such as sand or polymers. This is a formulation that is meant to offer durability, flexibility and wear and tear resistance.
Why Seal Asphalt?
Asphalt sealant has many advantages that aid in preserving its functionality and beauty.
The following are some of the main reasons why you should seal your asphalt surfaces:
Protects Against Environmental Damage
Asphalt is very prone to environmental degradation by UV rays, water and weather. Water may leak through cracks without protection, and lead to further degradation. The UV rays may dry up the asphalt making it hard and easy to crack. Sealcoating offers a protective coating that protects the surface against these damaging factors and does not allow them to enter and cause harm.
Enhances the Appearance
Among the most evident advantages of asphalt sealing is the enhancement of the appearance. Sealcoating provides a smooth, uniform and rich black finish to the surface when freshly applied, which makes your asphalt look new again. It may be used to conceal small flaws such as cracks and fading, and provide the surface with a polished appearance.
Prolongs the Life of Asphalt
Sealcoating prevents wear and tear, and it can be used to increase the life of your asphalt. You can greatly extend the life of your driveway or parking lot by sealing it every few years, which will save you a lot of money on repairs or replacements.
Prevents Cracking and Potholes
Frequent sealcoating assists in avoiding cracks and potholes by stopping the seepage of water, oil, and other substances into the asphalt. Water may expand when it enters cracks and freezes in cold weather, resulting in additional damage. Sealing your asphalt will also assist in preserving the structural integrity of the asphalt and minimize the chances of potholes developing.
How to Seal Asphalt: Step-by-Step Guide
Now that you have known the importance of sealing asphalt, we will now move on to the step-by-step process of sealing asphalt.
Preparation and Cleaning
The surface must be well prepared before applying any sealant.
The following is the way to clean your asphalt:
Clear the Area: Clear the surface of all vehicles, debris, leaves and other obstructions. One must have a clean and clear space to work in.
Clean the Surface: Use a broom or leaf blower to remove loose debris. To clean it more deeply, power wash the surface to get rid of dirt, oil stains, and other contaminants. In case you see stubborn stains, you may have to apply a degreaser or asphalt cleaner.
Moisture Check: Make sure that the surface is dry before applying the sealant. When it is raining or dew is wet on the asphalt, wait until it is dry before going.
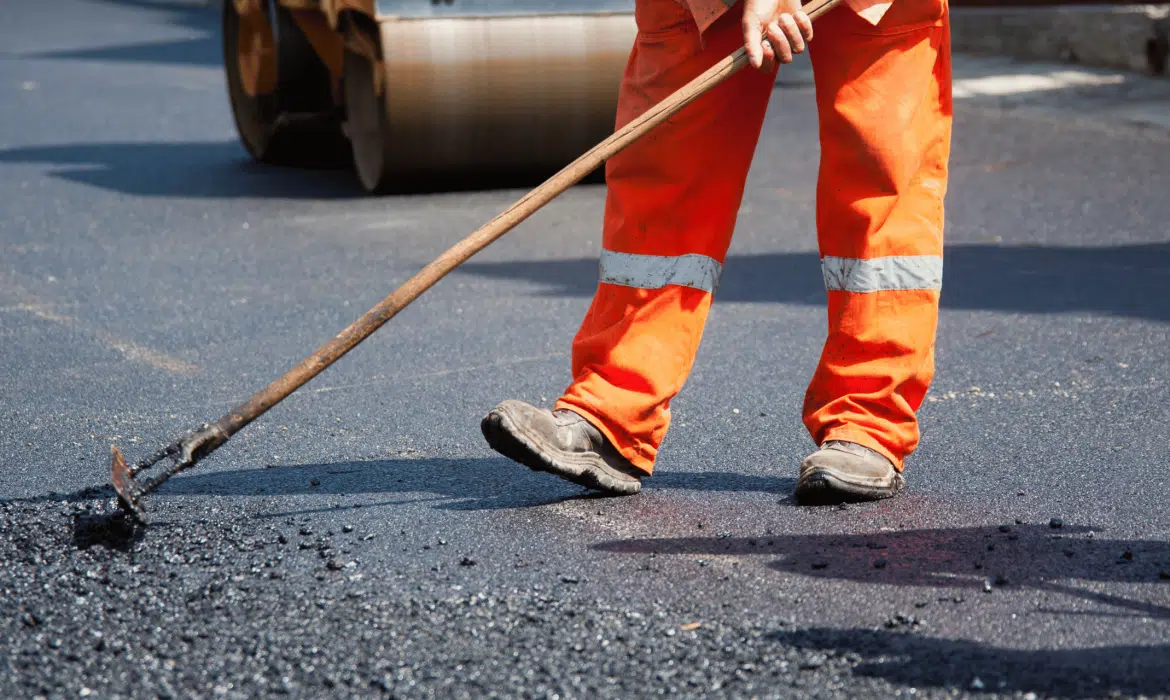
Repairing Cracks and Potholes
It is important to seal any cracks or potholes in the asphalt before applying the sealant.
It is done as follows:
Check Cracks and Potholes: Check the surface of the surface to find out the cracks, potholes, or any other damage.
Fill the Cracks: Fill any cracks with a crack filler or asphalt patching material. A trowel crack filler might be required on large cracks. Let the filler dry out and proceed to the next step.
Fix Potholes: Fill up potholes with cold-patch asphalt. Wipe with a trowel and allow to dry.
Applying the Sealant
After cleaning the surface and making any repairs, you can start to apply the sealant:
Prepare the Sealant: Before applying the sealant, thoroughly mix it to make sure it is mixed well. Add water to change consistency, as needed.
Sealant: Spray or squeegee on the sealant in a thin layer. Apply the sealant in straight lines starting at one end and going to the other.
Use a Second Coat: To provide additional protection, put on a second coat after the first one has dried. Ensure that the initial layer is fully dry (which normally takes 2-4 hours) before applying the second layer.
Drying and Curing Process
Let the sealant dry and dry:
Give Time to Dry: The sealant normally requires 2-4 hours to dry to a point of allowing foot traffic. In the case of vehicle traffic, wait a minimum of 24 hours or until the road is dry.
Avoid Traffic: When curing, do not drive or walk on the surface to prevent damage or uneven drying.
Asphalt Sealcoating Tips
Select the Right Weather: Sealcoating is to be applied on a hot and dry day. Ideal temperatures range from 50°F to 85°F (10°C to 29°C).
Apply Sealant of High Quality: Invest in a high-quality sealant to make it as protective and durable as possible.
Do not Over-Apply: Excessive sealant may result in pooling and uneven drying. Always use thin layers.
How to Choose a Sealcoating Contractor
Selecting an appropriate contractor is vital to the success of your asphalt sealing project. Seek experienced and reputable contractors that are well licensed. Reference checks and reviews to make sure that they have a record of quality work.