The United States is one of the most popular users of concrete as a building material. Concrete is appreciated in terms of strength, durability, and versatility in terms of driveways and sidewalks, patios, and foundations. Although it might appear to be complex, the process of installing concrete has a straightforward procedure that can be learned by anyone under proper instructions.
The article provides an instructional guide on the installation of concrete in a step-by-step manner, in simple and easy to understand language with tips applicable by homeowners, contractors, and DIY professionals.
What Is Concrete?
Concrete is a combination of cement, water, sand and gravel (aggregate). These ingredients form a thick paste when mixed up but this hardens with time. Concrete is also very strong and durable once it is cured and therefore it is suitable in residential and commercial construction.
Common Uses of Concrete
Concrete is used everywhere in construction, including:
- Driveways and walkways
- Sidewalks and curbs
- Outdoor living areas and patios
- Garage and basement floors
- Foundations and slabs
- Steps and retaining walls.
Knowledge of how to install them will help guarantee the lifespan of these structures in decades.
Tools and Materials Needed for Concrete Installation
Before starting, it’s important to gather the right tools and materials.
Materials
- Concrete mix (bagged or ready-mix)
- Water
- Gravel or crushed stone
- Wooden or metal forms
- Strengthening of steel (bar or wire mesh).
Tools
- Shovel and rake
- Concrete mixer or wheelbarrow
- Level
- Measuring tape
- Trowel and float
- Screed board
- Safety gloves and goggles.
It will be time and energy saving to get everything prepared before you start.
Step 1: Planning and Measuring the Area
Planning is the initial process in the installation of the concrete.
Measure the Space
Measure the length, width and depth of the area where the concrete is going to be laid. The residential concrete slabs are usually 4 inches thick, and the driveways may need 5 to 6 inches.
Check Local Building Codes
Permits or inspections might be needed in a number of cities and counties in the U.S. particularly in driveways or structural slabs. Check the local regulations beforehand.
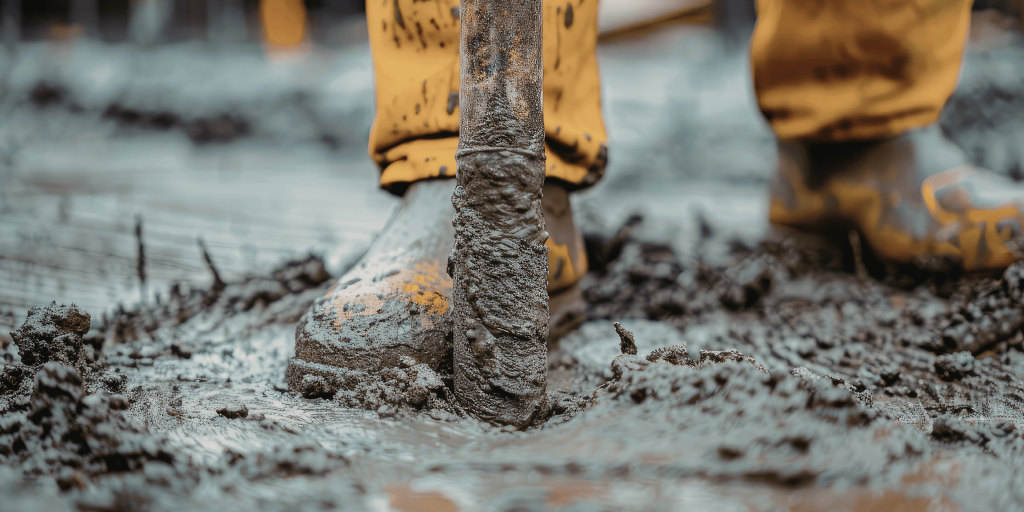
Step 2: Preparing the Ground
One of the most significant aspects of the concrete installation is proper ground preparation.
Clear the Area
Weed out grass, roots, rocks and debris. The floor must be solid and clean.
Excavate to the Right Depth
Dig down to allow space for:
- Gravel base (usually 2-4 inches)
- Concrete slab thickness
Add a Gravel Base
Sprinkling wet stone or gravel over the surface.
This base:
- Improves drainage
- Prevents cracking
- Provides stability
The gravel can be compacted with plate compactor or hand tamper.
Step 3: Building and Setting the Forms
Forms keep the wet concrete into position as it dries.
Build the Forms
Draw the outline of the shape of the slab with straight wooden boards or metal forms. Fasten them with posts at regular intervals.
Level the Forms
Ensure that the forms are flat and at the right position. Install a level of a carpenter to make sure that the surface will be flat or with a slight inclination towards drainage (this is of particular importance to driveways and patios).
Step 4: Installing Reinforcement
The concrete is strengthened through reinforcement and it also avoids cracking.
Common Reinforcement Options
Rebar: Steel bars in grid form.
Wire mesh: This is steel mesh that is placed over the slab.
Place reinforcement in the middle of the slab thickness, not directly on the ground.
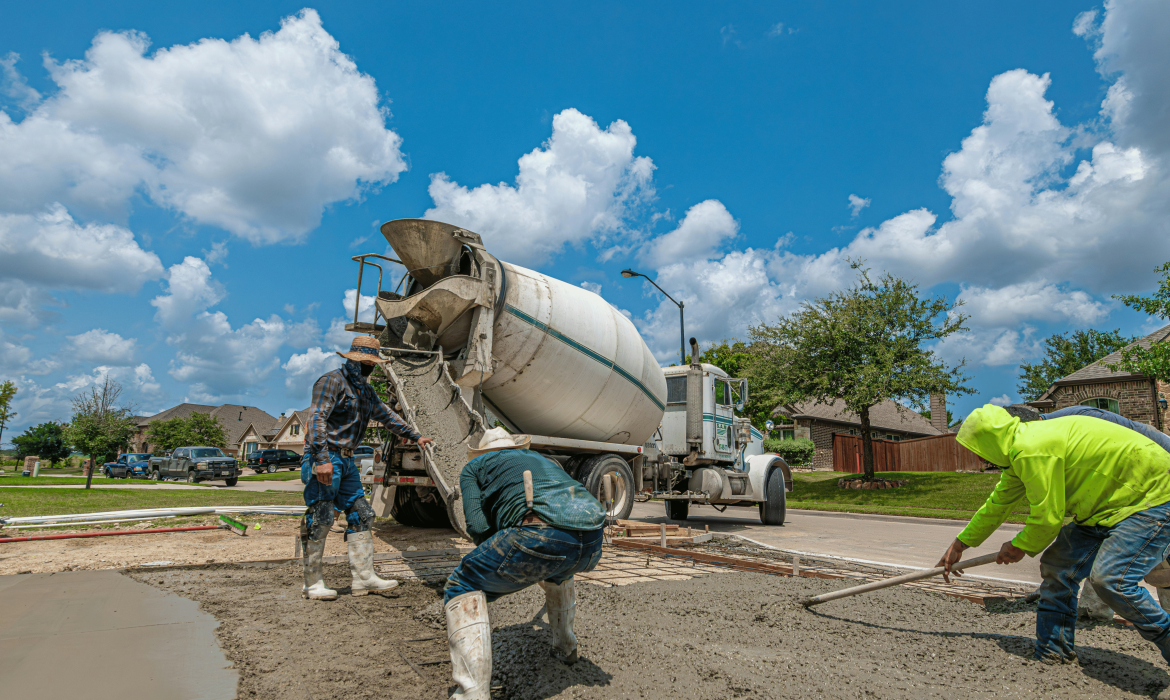
Step 5: Mixing the Concrete
The concrete can be prepared at the site or by a ready-mix truck.
Mixing Bagged Concrete
Read the instructions of the manufacturer:
- Add water slowly
- Stir until the concrete is thick and workable.
Ready-Mix Concrete
Ready-mix concrete is widespread in the U.S. in the case of large projects. It guarantees uniform quality and time saving.
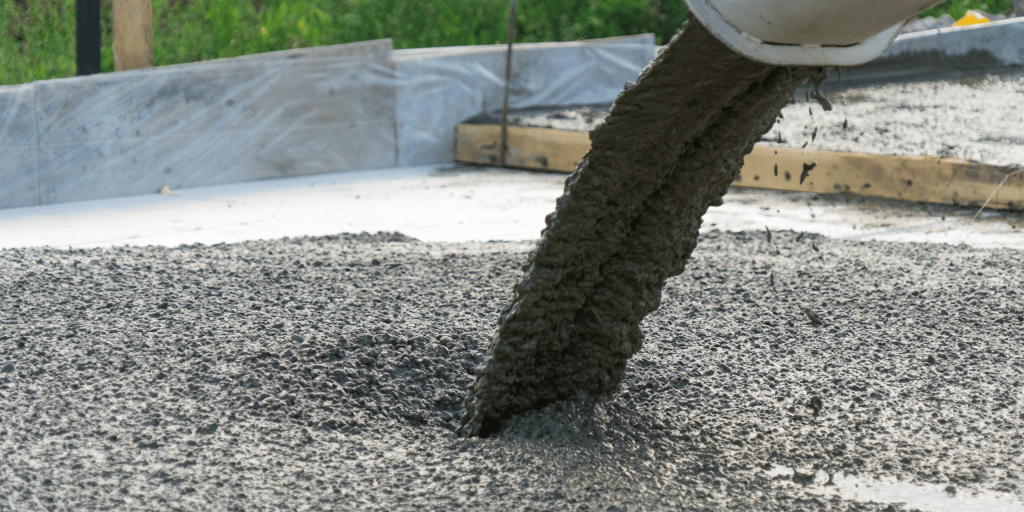
Step 6: Pouring the Concrete
The concrete should be mixed fast and then poured.
Pour Evenly
Begin on one end and cross the territory. The concrete is to be distributed evenly in the forms using shovels or rakes.
Avoid Delays
Concrete is set within 30-60 minutes, therefore work quickly in order to prevent surface unevenness.
Step 7: Leveling and Screeding
The surface should then be leveled after pouring.
Screeding the Surface
A straight board (screed) will be used to run over the forms. This eliminates the surplus concrete and gives it a flat surface.
Fill Low Spots
Cement where necessary and re-screed till the surface is smooth.
Step 8: Floating and Finishing
Completing enhances the looks and the longevity.
Floating
Apply bull float or hand float on the surface in order to smoothen the surface and add moisture on the top. This assists in getting rid of air pockets.
Edging
Work an edging tool around the edges to make smooth rounded edges that do not chipe.
Final Finish Options
Smooth finish: Suitable in interior floors.
Broom finish: This finish is used in driveways and sidewalks because of their resistance to slipping.
Decorative finish: Stamped or textured patios.
Step 9: Curing the Concrete
Strength is a prerequisite of curing.
Why Curing Matters
During the curing of concrete, concrete strengthens. When they are not cured properly, there are cracks and weak surfaces.
How to Cure Concrete
- Maintain the dampness of the surface within 5-7 days.
- Wrap in plastic sheets or blankets.
- Spray with water lightly a few times a day.
Do not walk on the surface within 24-48 hours and 7 days or more before heavy loads are placed.
Step 10: Removing Forms and Final Inspection
After the concrete is hardened:
- Carefully remove the forms.
- Look at edges of checks and surface defects.
- Seal minor cracks where necessary.
The concrete will gain strength within a period of up to 28 days.
Common Mistakes to Avoid
- Omission of ground preparation.
- Adding excessive water in the mixture.
- Pouring concrete under extreme temperatures of either heat or cold.
- Failure to give sufficient curing time.
- Disregard of drainage necessities.
These errors can be avoided to make the concrete installation last longer.
When to Hire a Professional
Although small projects may be DIY, seek the services of a professional in:
- Large driveways
- Structural foundations
- Ornamented or impressed concrete
- Projects requiring permits.
Installers with professional experience and equipment are able to provide constant results.