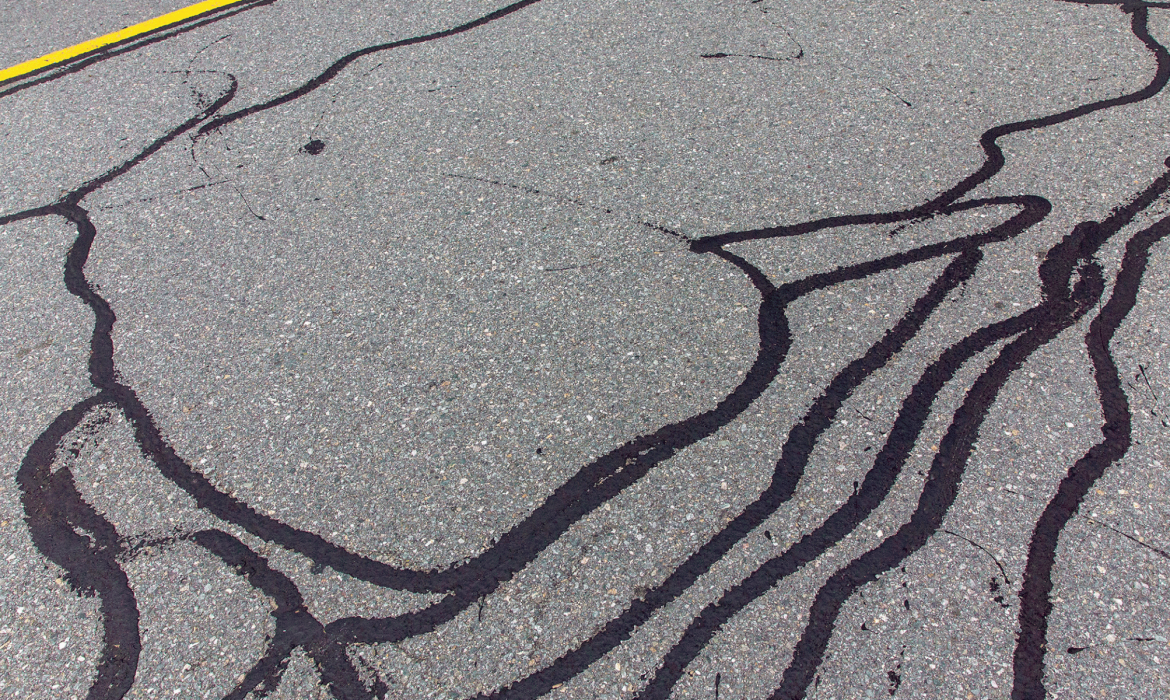
The asphalt driveway is an alternative that has been widely used in most houses due to its durability, affordability and smooth texture. But with time, and as a result of weather, water, and even vehicular traffic there are cracks that may be seen to develop. Although such cracks might be meager at an initial stage, when they are not treated, they may grow and bring about severe consequences.
Why Asphalt Driveways Crack
The first thing before getting into repair is to know what the causes of cracks are.
Common causes include:
Change of weather: Freeze- thaw during winter may widen and narrow the asphalt.
Water damage: This is because water that penetrates the asphalt may cause weakening of the structure.
Massive loads: Large roads or often traffic may load up the surface.
Aging: Asphalt which is natural ages gradually becomes brittle and cracks easily.
With the early solution of cracks, you will prolong the life of your driveway and will save money in expensive repairs down the line.
Types of Cracks in Asphalt Driveways
Knowing what type of crack, you’re dealing with can help you choose the best repair method:
Hairline cracks: Surface cracks that tend to be cosmetic.
Alligator cracks: These are a succession of interlacing cracks that are like alligator skin. From a deeper point of view, it usually points to a more significant problem.
Edge cracks: These are cracks that occur along the edges of the driveway and they are usually attributed to poor drainage or soil movement.
Large cracks (more than 1/2 inch): They require bigger repair and even professional care.
Tools and Materials You’ll Need
Following are the supplies you will require in repairing cracks in your asphalt driveway:
For small cracks (under ½ inch wide)
- Asphalt crust filler (liquid or rubberized)
- Caulking gun (to be used in tube fillers)
- Wire brush
- Screwdriver or chisel
- Broom
- Leaf blower or vacuum
- Protective gloves.
For larger cracks (over ½ inch wide)
- Asphalt patching compound
- The cold asphalt mix (deeper cracks)
- Tamper or 4×4 wood
- Trowel.
Optional but helpful:
- Asphalt sealer (to seal the whole driveway once they are repaired)
- Pressure washer (deep cleaning).
Step-by-Step Guide: How to Fix Small Cracks in Asphalt Driveway
Step 1: Clean the Crack
Clean out the crack with a wire brush, screwdriver or chisel to get all loose debris, dirt or weeds off. Clear it off with a broom or a leaf blower then.
Tip: To give it an extra wash, a pressure washer will do the trick and make sure that the crack is fully dry before filling it.
Step 2: Apply Crack Filler
Apply a high-quality asphalt crack filler that is available in liquid state or in tube form to be applied using a caulking gun. Fill the crack gradually, on one end to another.
Step 3: Smooth the Surface
A putty knife or a trowel is used to smooth the filler and make it smooth with the surrounding asphalt. It should not be filled to capacity because it will result in a bump.
Step 4: Let It Cure
After drying the filler, follow the instructions given by the manufacturer. This may require several hours as well as a day depending on the weather and the product.
How to Fix Larger Cracks in Asphalt Driveway
In case of larger cracks or potholes a different approach should be used.
Step 1: Clean the Area
Just like small cracks, get rid of all the debris, dirt and vegetation on the damaged area. Edge cleanliness assists in the bonding of the patching material.
Step 2: Fill with Cold Asphalt Patch
In cracks over 1/2 inch in depth, or small potholes, put in bottom, to a depth of some 1 inch of surface, a fill of crushed gravel or sand. Add cold asphalt patch material then.
Step 3: Compact the Patch
Stamp the patch down with a tamper or a heavy piece of wood. Compaction is what is important to a lasting repair.
Step 4: Smooth the Surface
With a trowel, smooth the patch with the rest of the driveway. Should it be necessary add additional patching material and press once again.
Step 5: Allow Time to Cure
Depending on the mix, the cure time takes time, although the majority of cold asphalt patches can be used in light traffic in 24-48 hours.
Optional Step: Seal the Entire Driveway
After repairing your cracks, you may want to seal the whole driveway to ensure that it is not destroyed next time.
A quality sealer of asphalt will:
- Not only waterproof, but also oilproof and UV proof.
- Make your driveway look current and homogenous.
- Increase the life of your asphalt.
How to Apply Sealer:
- Wipe down the whole surface.
- Allow 2-3 days following cracks patching.
- Apply sealer using a squeegee or a brush.
- Allow it to dry up in 24-48 hours before driving on it.
Maintenance Tips to Prevent Future Cracks
Here are a few tips to help keep your asphalt driveway in good shape year-round:
Sealcoat every 2-3 years: This prevents water, sun and chemical seeping.
Seal the cracks immediately they happen: Little jobs cost less and are simpler than big ones.
Keep it clean: Sweep and clean up oil spills early.
Light loads Avoid heavy loads: Park heavier cars elsewhere, where possible.
Enhance drainage: Ensure that water flows out of the sides of the drive through it.
When to Call a Professional
While many small to medium cracks can be repaired with DIY methods, some damage requires professional attention:
- Fissures more than 1 inch or deep potholes.
- Widespread cracking of alligators (causes complete resurfacing)
- Drainage problems with the bottom of the driveway.
Provided that your driveway is 15-20 years old and its cracking is widespread, its replacement or resurfacing can prove to be cheaper over the long run.

