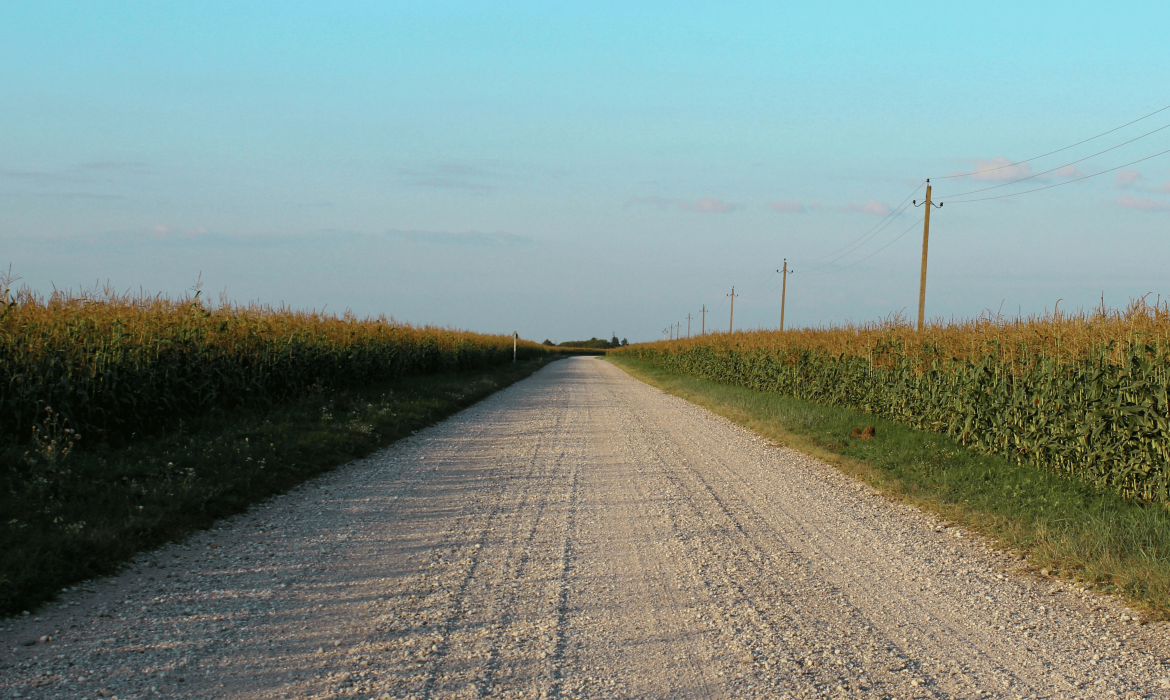
A gravel driveway is an affordable, durable, and attractive option for homeowners. While some installations use a gravel grid system for added stability, you can successfully install a gravel driveway without a grid if you follow the right steps. With proper preparation, layering, and maintenance, your driveway can last for many years.
In this guide, you’ll learn how to install a gravel driveway without a grid in a simple and effective way. This step-by-step approach is easy to understand and designed for homeowners who want a solid, long-lasting result.
Why Choose a Gravel Driveway Without a Grid?
A gravel driveway that is not laid in a grid can save your money and time. Gravel grids may be expensive and be unwarranted in most driveways in residential areas where the soil is good and there is adequate drainage.
Here are some benefits:
- Lower installation cost
- Easier DIY project
- Flexible and easy to repair
- Natural appearance
A properly installed grid-free gravel driveway may withstand normal vehicle traffic and be erosion resistant.
Tools and Materials You’ll Need
Prepare the correct tools and materials beforehand. The main important thing in construction of a stable gravel driveway is preparation.
Tools
- Shovel
- Rake
- Wheelbarrow
- Plate compactor (rentable)
- Tape measure
- Stakes and string
- Landscape fabric scissors or utility knife.
Materials
- Crushed stone (base layer)
- Dense grade or Crusher run gravel
- Decorative gravel (top layer)
- Landscape fabric
- Carving material (metal, plastic, wood or stone).
Choosing the right type of gravel is very important. Crushed stone works best because the jagged edges lock together, creating a stable surface.
Step 1: Plan and Measure the Driveway Area
Begin by drawing up the size and design of your gravel driveway. Draw the area with the help of stakes and string. The length and width are measured to determine the quantity of gravel you would require.
With most residential driveways, 10 to 12 feet would be average. In case you desire more parking, space or turning, move it around.
You’ll typically need:
- 4-6 inches of base gravel
- 2-4 inches of middle layer
- 1-2 inches of top layer
Remember that when installing a gravel driveway that is not gridded it is important to use proper depth. The stability will be offered by the thickness of the layers.
Step 2: Excavate the Area
One of the most significant processes is excavation. Cleanse the area in question of grass, roots, and topsoil. Excavate between 8-12 inches depending on the soil and depth of the gravel to be used.
Ensure that the ground is sloppy to the outside of your house or garage. The gradient of 1-2 percent is beneficial in drainage and avoids water stagnation.
The poor draining is one of the key causes of the failure of gravel driveways. This step should be done right.
Step 3: Install Edging for Support
Edging will hold your gravel down and will not allow it to move out in your yard. It is particularly vital in cases where you do not have a gravel grid.
You can use:
- Metal edging
- Pressure-treated wood
- Stone or brick borders
- Heavy-duty plastic edging.
Secure the edging well into the ground. It must be a little higher than the gravel level to ensure that the material is contained.
Step 4: Lay Landscape Fabric
Landscape fabric also prevents growth of weeds in your gravel driveway. It also isolates the soil and the gravel so that the sinking and mixing reduces with time.
Make the cloth roll all over the excavated area. Intersect by a minimum of 12 inches. Use landscape pins to hold it in position.
In spite of the fact that landscape fabric is not a gravel grid, it can offer the necessary support and enhance the durability.
Step 5: Add the Base Layer
Your gravel driveway is based on the foundation. Large crushed stone (about 2-3 inches) is to be used. Spray it all over the area with a depth of 4-6 inches.
When it is spread, a plate compactor is used to compress the stone well. Compacting results in an entrenched base and minimizes future movement.
Repeat several times using the compactor. The secret of successful installation of a gravel driveway without a grid is a well-compacted base.
Step 6: Install the Middle Layer
The middle layer adds strength and stability. Use crusher run or dense grade aggregate. This type of gravel contains smaller stones and stone dust, which help bind everything together.
Lay down a layer of 2-4inches on the compacted bottom. Rake it smooth and level. Then place it back with the plate compactor.
This layer is attached to the bottom layer creating a reinforced structure to hold the weight of the vehicles.
Step 7: Add the Top Layer
The surface provides your driveway with a finished appearance. Select ornamental gravel like gravel pea, crushed granite or limestone.
Apply 1-2 inches of surface. Buff it off to have a smooth look.
The surface is to be settled by lightly compacting it. The compacting of the same should not be excessive particularly when utilizing smaller ornamental gravel.
The gravel driveway without a grid is completed and ready.
Tips for Maintaining a Gravel Driveway
Even a well-installed gravel driveway requires regular maintenance.
Here are simple tips to keep it in good condition:
- Occasionally rake the surface in order to redistribute gravel
- Fill in low spots as needed
- Add fresh gravel every 1-2 years
- Remove weeds promptly
- Always keep drainage areas clean.
When you find the potholes developing, pour the crushed stone on them and strike firmly. Regular cleaning will last longer till your driveway is in top condition.
Common Mistakes to Avoid
When installing a gravel driveway without a grid, avoid these common mistakes:
Skipping excavation
Any gravel added on grass or soil will sink and form uneven surfaces.
Using the wrong type of gravel
Rounded stones shift easily. The bottom and intermediate layers should always be made of crushed stone.
Not compacting enough
Compaction will avoid movement and ruts.
Ignoring drainage
The foundation may become weak due to water damage.
Avoiding these mistakes will help ensure your driveway lasts for years.
How Long Does a Gravel Driveway Last?
An installed gravel driveway that is not grid-based can be maintained to last over 10 years under normal conditions.
The lifespan depends on:
- Soil condition
- Traffic level
- Weather exposure
- Drainage quality
Heavy vehicles and poor drainage can reduce its lifespan, but proper layering and compaction make a significant difference.