
Replacing an old concrete driveway with a new asphalt driveway is a big project; however, the following steps are required to make the new driveway last a long time. Below is a guide on how to remove a concrete driveway and make way for an asphalt one, step-by-step.
Assess the Concrete Driveway
Before destroying the existing concrete driveway, take time to investigate the initial state of the concrete to know what to expect. Examine the surface and pay special attention to the thickness of the concrete, and also look for signs such as rebar or wire mesh, which are commonly used in the construction of concrete structures; also, look for any kind of crack or fault, which may be present in the concrete structure. It is also essential to examine the feasibility of the removal and new asphalt driveway installation to ensure that when complete, you do not end up exceeding your budget.
You’ll Need Specific Equipment and Materials to Remove a Concrete Driveway
It is vital to understand and differentiate between the specific tools necessary. There are two types of jackhammers, electric and pneumatic, and they are the best for the task.
Concrete cutter – A concrete cutter is used to cut through the concrete to create a gap for the pry bars to be used in lifting the concrete pieces.
Shovels and picks – These are used to clear the concrete rubble and any other waste materials found at the site.
Concrete trucks and wheelbarrows –These are used for carrying concrete rubble and dirt. You should also rent a dumpster, as well.
Prepare the Site
Before demolition, make sure to:
1. Mark out underground utility lines so as not to disturb or hit them while excavating a concrete area;
2. Ensure on-site you have a clear space where you can dump concrete rubble before transportation:
3. Put safety barriers around the site where construction is being carried out to avoid any possibility of debris affecting other structures or people:
To implement this method, the concrete must be divided into smaller, more manageable pieces or sections.
Using the sledgehammers and jackhammers, demolish the concrete so that it forms small squares of approximately 3 ft x 3 ft in size, in grids, from one side of the driveway. Dissect each section into easily movable portions and avoid long and complex sequences of instructions.
Special care should be taken to make small sections and debris while avoiding attempts to remove large portions of thick concrete at once. This step can be time-consuming, so take your time and do it properly.
Remove and Throw Away the Concrete Fragments
After breaking sections of concrete, remove them with pry bars and shovels to heave out the pieces. Place the pieces in wheelbarrows or trucks and take all the rubbish to a licensed construction debris disposal station.
It is recommended that personal protective gear should be worn while handling such sharp and heavy concrete debris especially when loading them.
It will be necessary to remove the final layer of concrete and other debris from the site before proceeding with further construction.
Clear the site and scrap every bit of concrete with shovels, picks, brooms, and wheelbarrows from the vicinity after the demolition. The area of the site must be left bare before going to the next step of preparing the base for the construction of the driveway.
Complete Any Gaps or Depression Areas on the Walls or Ceiling
After concrete is taken out, sometimes there might be holes or low areas that were not concealed by concrete since it had cracked. Ensure that you use a compatible gravel fill material to fill up any substantial pits or depressions and level the gravel by tamping it down using a hand-compacting tool like a hand tamper or a mechanical plate compactor.
It is advisable to avoid problems like hidden voids or soft spots on the base beneath the new asphalt driveway before paving, as the new driveway will fail early under such circumstances.
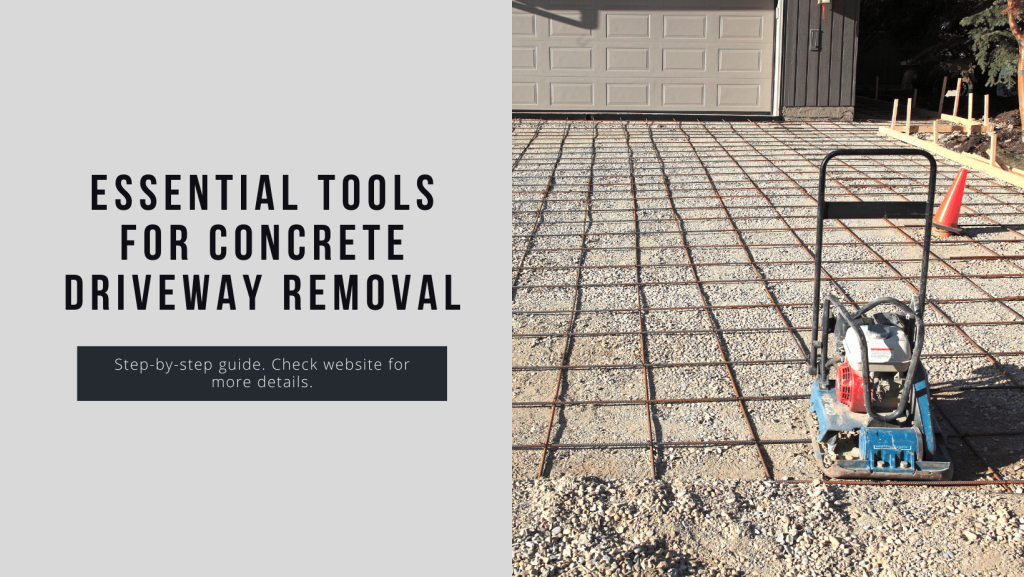
Install Compactable Aggregate Base
If all the concrete has been removed and the holes have been filled, lay approximately 4-6” of dense grade or crusher-run gravel. Use a plate compactor and cover relatively large areas at a time so that the gravel is compacted uniformly and firmly and provides a good foundation for the new asphalt pavement.
Apply Weed Barrier Fabric
For pre-paving, some contractors advise using commercial-grade landscape fabric or weed barriers on compacted bases. It also provides a moisture barrier and prevents any weeds from emerging through the cracks that may appear in the new asphalt. If used, place this over the finished gravel base by rolling it over the surface.
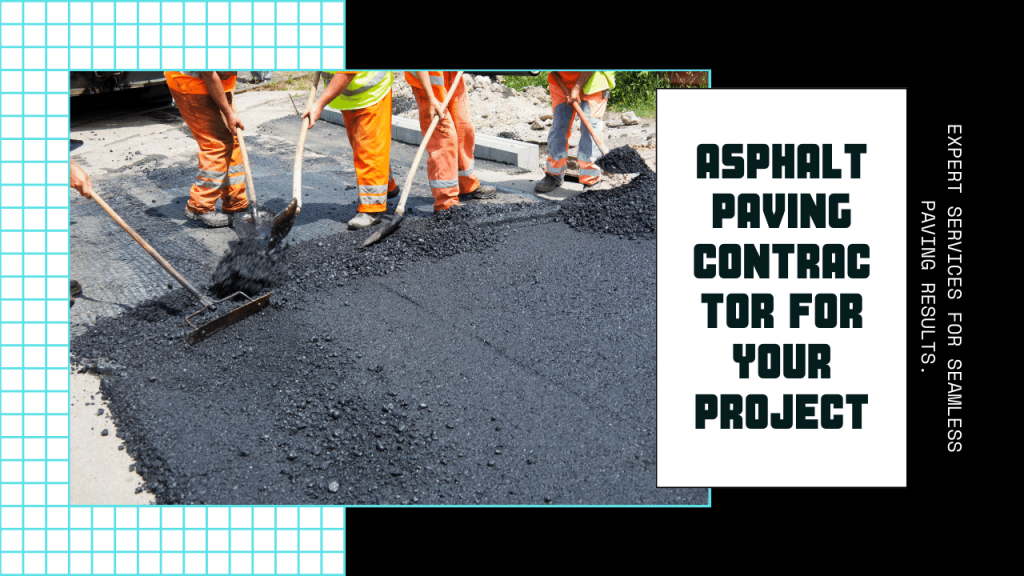
Hire an Asphalt Paving Contractor
Now that you have cleared all the old concrete and have ensured you have a correct base to work on, it is time for your new asphalt driveway! Pave the driveway using asphalt. While asphalt is a relatively affordable material, you should hire professional contractors to do this work, as proper installation equipment and experience are required in order to end up with a sturdy, long-lasting pavement.
A reputable paving company will:
1. Ensure and endorse the compaction base;
2. Know that the process of developing an appropriate asphalt mix depends on the region and traffic loads:
3. Ensure you hire skilled employees and have the correct tools to achieve uniformity in the application of two or more courses of hot asphalt:
4. Upon its compaction, see to it that you seal the asphalt surface.
As for the old concrete driveway’s removal, it is a job that requires effort; however, it is worth performing correctly because your new asphalt surface will serve you well for years, with no concern about the driveway’s condition! Always wear safety gear and never risk your life; the time taken to do the demolition and base preparation is all worth it in the long run.