Paving stones installed in grass can be used to make lovely, useful pathways or patios in your garden. In this guide, we will take you through every step so that you can install paving stones in grass confidently and easily.
Why Install Paving Stones in Grass?
Before getting into the how-to, it is worth considering why people might decide to put paving stones in grassy areas:
• Creates a clear walking path
• Protects grass from foot traffic
• Adds aesthetic appeal to your yard
• Improves drainage in high-traffic areas
• Low-cost alternative to full patios or decks
Tools and Materials You’ll Need
Here is a list of the things you will need to get started:
Tools:
• Shovel or hand trowel
• Rubber mallet
• Garden hose or rope (for marking path)
• Level
• Measuring tape
• Broom
Materials:
• Paving stones (also called pavers or stepping stones)
• Landscaping fabric (optional, for weed control)
• Sand or crushed stone (for the base)
• Topsoil or grass seed (optional, for patching)
• Garden gloves (recommended)
Step-by-Step Guide to Installing Paving Stones in Grass
Let’s break the process down into manageable steps.
Step 1: Plan Your Path or Area
Start by planning where you want the paving stones to be. Is it a direct pathway, a meandering garden path, or a sitting area?
Tips for Planning:
- Mark out the path or area with a garden hose, rope, or spray paint.
- Spread the stones at an interval that suits your stride (typically 18 to 24 inches apart) when it is a walking path.
- Look at the area and see if there are any slopes, roots, or sprinkler heads that you will have to work around.
Step 2: Choose and Prepare Your Paving Stones
Paving stones come in various sizes, shapes, colors, and materials. Popular options include concrete, natural stone, and brick.
What to Look For:
Durability: Choose stones that are durable and can weather the elements.
Thickness: Try to get at least 1.5 to 2 inches thick to be stable.
Style: Remain consistent with the rest of your house or garden.
When you have decided on which stones you want to use, put them on the grass in the pattern you have designed to see how they look.
Step 3: Mark and Cut the Grass
Having the stones in place where you want them, trace around each stone with a shovel or hand trowel. This will provide you with a sketch on where to clear the grass.
How to Do It:
- Remove the stones temporarily.
- Cut along the outline.
- Carefully remove the grass sod in each marked area.
Pro tip: Keep the pieces of grass in case you want to use them again or fill in bare areas.
Step 4: Dig the Base
Go down to a depth that will keep the stone just a little below the level of the grass around it. This maintains the pavers at the same level as the lawn and also makes mowing simple.
Depth Guidelines:
• 2 inches for the stone
• 1 to 2 inches for the sand or gravel base
• Total: 3 to 4 inches deep
Use a level to make sure that your dug-out area is even.
Step 5: Add a Base Layer
A base layer helps with drainage and stability. This is not required on very light-use paths but is a good idea.
Base Options:
• Coarse sand
• Crushed stone or gravel
Drop in about 1 to 2 inches of base material in each hole and tamp it down. You may use a tamper or the flat end of a shovel. Smooth and level the base.
Step 6: Place the Paving Stones
Now, place each stone into its spot. Put it into place with your hands and then tap it down with a rubber mallet.
Important Tips:
- Use a level to check each stone.
- Ensure that the top is a little lower than the grass level to make mowing easy.
Adjust the base, as necessary, to raise or lower individual stones.
Step 7: Fill the Gaps
When the stones are in place, fill in the little spaces.
Filling Options:
Soil and grass seed: Helps to mix in the stones with the lawn.
Sand or gravel: Good for more formal or decorative paths.
Moss or creep ground cover: To give a cottage garden effect.
Use light watering on the area if you use grass seed or soil.
Step 8: Clean Up and Maintain
Sweep off any dirt or debris from the stones. Water the area as required and stand back to admire your new path!
To maintain your paved path:
- Pull weeds that may grow between stones
- Replace any shifted or sunken pavers
- Re-seed or patch grass as needed
Clean the stones by sweeping or with water
Common Mistakes to Avoid
Failure to dig deep enough: Stones can protrude and act as a tripping hazard.
Omitting the base layer: This may result in the sinking or displacement of stones.
Uneven placement: Makes walking uncomfortable and looks sloppy.
Neglecting drainage: Drainage should not be neglected as it may cause muddy or slippery walkways.
Optional Enhancements
When you have a basic path completed, you can go a step further:
- Add solar path lights for nighttime visibility.
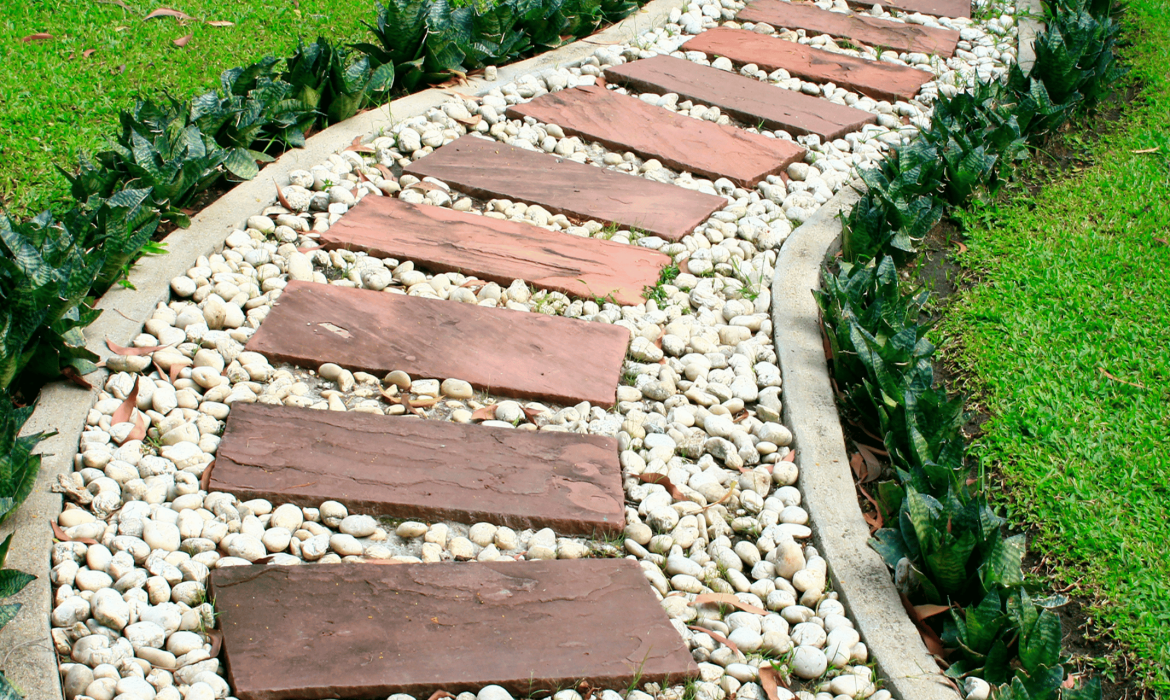
- Mark the path with edging stones or metal edging.
- Install decorative gravel between the stones for contrast.