Paving stones (also called pavers) are a popular choice for patios, walkways, driveways, and outdoor living spaces across the United States. They are durable, attractive, and can significantly boost your home’s curb appeal. While installing paving stones requires some physical work, it is a project many homeowners can complete with the right tools, preparation, and guidance.
This is a step-by-step installation process of paving stones that uses simple words and practical advice that are specific to the American home and climatic conditions.
What Are Paving Stones?
Paving stones consist of concrete, brick or natural stone in the form of separate units. Pavers are deposited individually over an underlying base as opposed to pouring concrete. This allows them to be malleable, durable and simple to fix in case one of the stones is destroyed.

Examples of common applications of paving stones are:
- Patios
- Walkways and garden paths
- Driveways
- Pool decks
- Outdoor seating areas.
Tools and Materials You’ll Need
You should prepare all the tools and materials beforehand, so that you do not get interrupted.
Tools
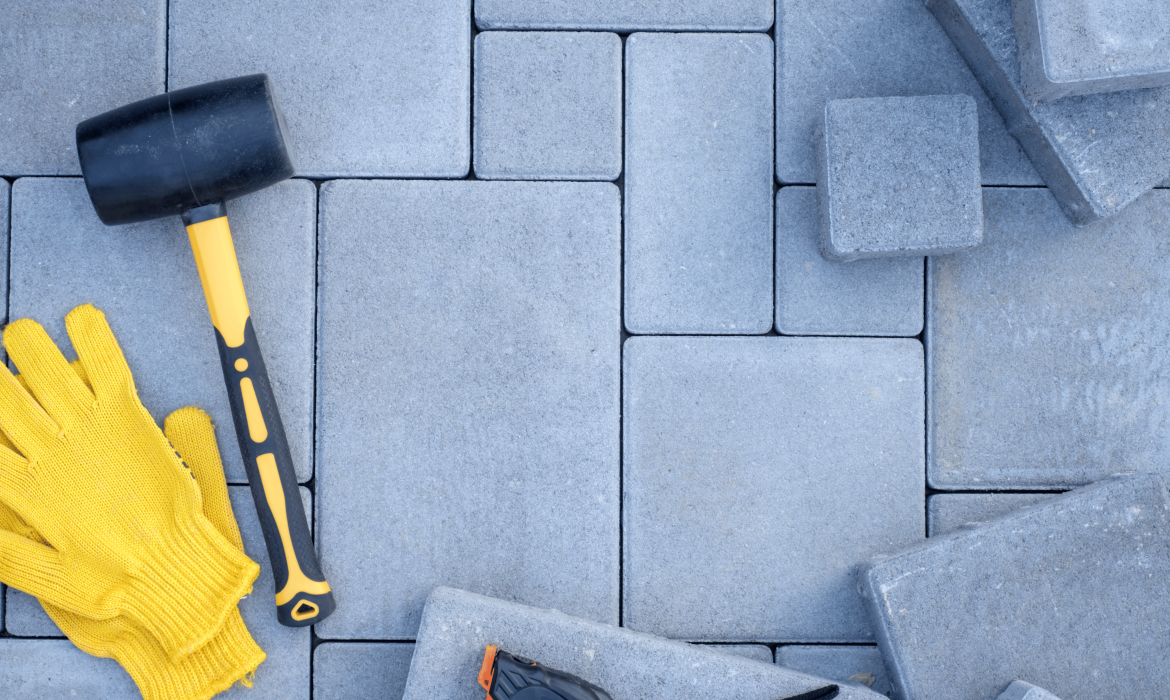
- Shovel
- Tape measure
- Level
- Rubber mallet
- Plate compactor (available for rent at the majority of home improvement stores in the U.S.)
- Hand tamper
- Broom
- Garden hose.
Materials
- Paving stones (add 5-10% more extra to cuts and errors)
- Paver base Crushed stone or gravel
- Bedding sand (coarse sand)
- Edge restraints
- Landscape fabric (not obligatory but suggested)
- Polymeric sand (for joints).
Step 1: Plan and Measure the Area
It would begin by making a decision on the place you would like to place the paving stones and the size of the area.
Key Planning Tips
- Prior to digging, one is required to call 811 to determine the location of any underground utility (this is mandatory in most states within the U.S.).
- Divide length and width to determine square feet.
- Select a style and pattern of pavement that fits the design of your house.
- Make sure that there is a slight slope away from your house (approximately 1/4 inch to 1 foot) to drain properly.
Planning helps to avoid making mistakes that are costly in the future.
Step 2: Excavate the Area
The base layers and pavers are created through excavation.
How Deep Should You Dig?
Walkways and patios: 6-8 inches deep.
Driveways: 10-12 inches deep (to take the weight of vehicles).
Remove grass, soil, and roots. The drainage slope should be maintained keeping the base as level as possible.
Step 3: Install the Base Layer
The most significant part of the paving stone installation is the base layer. A firm base would avoid sinking, sliding and breaking.
Base Installation Steps
- Add 3-6 inches of crushed rock or gravel.
- Spread it evenly using a rake.
- A plate compactor should be used to compact the base.
- Layering Repeat until the correct depth is attained.
To achieve long-term success, a compact base is needed, particularly in regions where there is freeze-thaw weather like in most states of the U.S.
Step 4: Add Landscape Fabric (Optional)
- Landscape cloth is used to stop the growth of weeds between the paving.
- It is optional but it is strongly suggested in patios and walkways.
- Place the cloth on top of the hardened base and put sand.
Step 5: Lay the Bedding Sand
The sand on the bed forms a smooth surface on which to place the paving stones.
Tips for Sand Installation
- Use coarse sand, not play sand.
- Spread a 1-inch layer evenly.
- Screed (clean) the sand using a straight board.
- Compaction of sand should not be done before laying the pavers.
When the ground is flattened, there should be as little walking on the sand as possible.
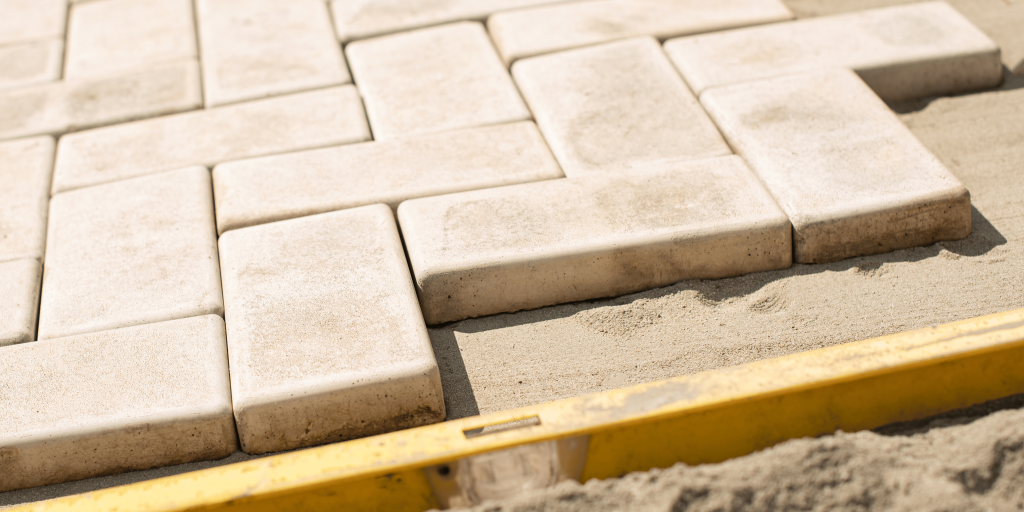
Step 6: Lay the Paving Stones
The next most rewarding part is the laying of the pavers.
How to Lay Paving Stones
- Begin at one corner or straight side.
- Lay the pavers on the sand.
- Use your pattern of choice (running bond, herringbone, basket weave, etc.).
- Allow small spacing of stones to allow joint sand.
- Stones are tapped into position with a rubber mallet.
- Touch down often so as to maintain the surface flat.
Step 7: Cut Pavers to Fit
It is likely that you will have to cut pavers on edges or curves.
Cutting Options
- Hire a wet saw (cleanest cuts are made with this type of saw).
- Small cuts should be done with a masonry chisel and hammer.
- Safety glasses and gloves should be always used when cutting paving stones.
Step 8: Install Edge Restraints
Edge restraints ensure that the pavers do not slide with time.
Why Edge Restraints Matter
- Permanently preserve the project form.
- Stop spreading and sinking.
- Improve durability.
Attach spike restraints onto the securities in accordance with the instructions provided by the manufacturers.
Step 9: Compact the Pavers
Once all pavers are in place:
- Use a plate compactor on the surface.
- This fixes the pavers on the sand.
- Be careful not to scratch the compactor using a protective mat.
- Paver compaction assists in holding the pavers.
Step 10: Fill Joints with Polymeric Sand
Polymeric sand does harden with the use of water, and the pavers are locked.
How to Apply
- Sweep sand into the joints.
- Make sure that the joints are filled.
- Spray light with a garden hose.
- Avoid overwatering.
This measure is used to avoid erosion, weeds and ants.
Step 11: Final Cleanup and Curing
After the sand sets:
- Sweep off excess sand
- Rinse the surface lightly
- Avoid heavy use for 24-48 hours
- Installation of paving stones is complete.
Maintenance Tips for Paving Stones
- Proper maintenance keeps your pavers looking great for years.
- Clean on a regular basis to avoid the accumulation of debris.
- Wash under water to clean the dirt.
- Use polymeric sand again in case of looseness of joints.
- Seal within every 2-3 Years (Optional)
Should You DIY or Hire a Professional?
DIY Installation
Pros:
- Lower cost
- Personal satisfaction
- Flexible timeline
Cons:
- Physically demanding
- Requires precision
- Mistakes can be costly
Professional Installation
- Ideal for large areas, driveways, or complex designs. Professionals ensure proper base preparation and long-term durability.