A new black top driveway is not only attractive but also ensures your investment is not damaged by weather, cracks and oil stains. Having your asphalt driveway sealed after every two to three years will save you hundreds of dollars in both time and money, as well as enhance your curb appeal. This tutorial will show you the process of sealing a blacktop asphalt driveway – step by step – so that you can achieve a professional appearance with the desired look without the huge price tag.
Why You Should Seal Your Asphalt Driveway
Asphalt driveways are always exposed to the sun, rain, snow and chemicals. These components lead to oxidation and cracking with time giving the chance of water creeping through the surface. This gives rise to potholes and permanent damage.
Closing your driveway will act as a barrier against:
- UV rays that deteriorate and weaken asphalt.
- Water and ice which make cracks.
- Surface deteriorating oil and gas spills.
- Car mobile and pedestrian wear and tear.
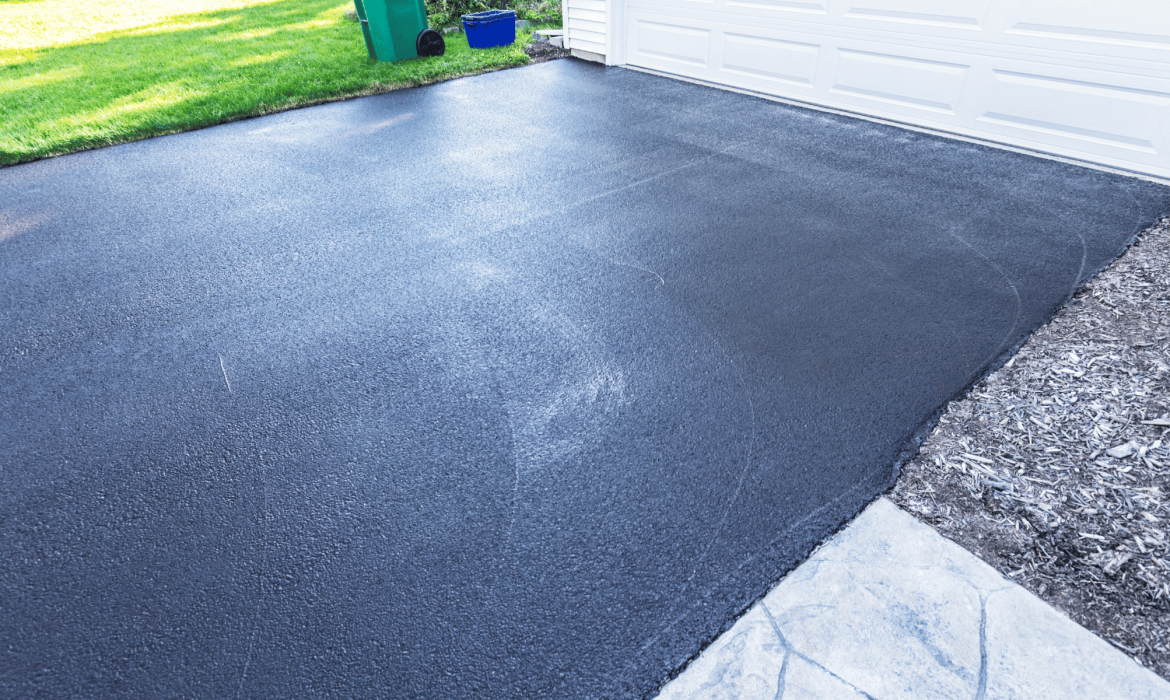
A good sealcoat will not only protect your driveway but it will also help your driveway appear rich and jet-black making your home look cleaner and more welcoming.
When Is the Best Time to Seal Your Driveway?
It is all about timing as far as sealing is concerned. The optimum season to apply asphalt in a driveway is either in the late spring or early fall when the temperature is between 50degF and 90degF and there is no rain in sight within 24 hours. Do not store in very cold or very hot. The sealer will not harden well in cold weather and excessive heat will cause it to dry too quickly resulting in uneven outcomes.
Tools and Materials You’ll Need
Before you begin, gather all the necessary tools and materials. Having everything ready will save time and ensure a smooth process.
Materials
- Asphalt road sealer (tar or coal-tar based).
- Patch asphalt or Crack filler.
- Driveway cleaner or degreaser.
Tools
- Stiff broom or leaf blower.
- Nozzle pressure washer or garden hose.
- Squeegee or sealcoating brush is long-handled.
- Paint stir stick/power mixer.
- Gloves and clothing that are protective.
- Safety glasses.
Step 1: Inspect and Clean the Driveway
Begin with checking your driveway about cracks, oil spots or potholes. Repairing before closing should be done in the case of any damage.
Remove debris: Clean the surface with a or a leaf blower to get rid of dust, dirt and leaves.
Wash thoroughly: Clean the area with a pressure washer or hose with high-pressure nozzle to help get rid of the stubborn dirt and loose materials.
Clean oil spots: pour a degreaser or cleaner over oil spots. Scrub thoroughly and rinse. Sealer will not adhere to greasy or dirty places.
Allow the driveway to dry completely—usually 24 hours—before moving on.
Step 2: Fill Cracks and Holes
Before the sealing, cracks and holes should be sealed, otherwise, they will allow the water to enter and destroy the asphalt below.
Minor cracks (less than 1/2 inch): liquid crack filler. Squeeze it in the crack and clean using a putty knife.
Big cracks or potholes: apply asphalt patching compound. Stuff it in there, press it down and make it rise even with the rest of the surface.
Allow repairs to dry as per the instructions of the manufacturer, which is normally 4-8 hours.
Step 3: Mix the Sealer
The majority of asphalt sealers require stirring prior to application to give them a smooth finish.
- Unscrew the container and mix with a paint stick or power mixer with large batches.
- Blend until the mixture becomes smooth and homogenous.
- When you have several buckets, pour them into a big tub to ensure that you have a similar color across the project.
Step 4: Apply the Sealer
Now comes the main event—applying the sealer.
- Begin at the top of the drive and go downhill or at one side to the other side without walking across new areas which have just been sealed.
- Apply sealer small portions on the surface (a square yard at a time).
- Squeegee or driveway brush can be used to apply it in thin layers. Use intersecting strokes to ensure full coverage.
- Do not use heavy layers but two thin layers are better than one thick layer.
Step 5: Allow Proper Drying Time
After applying the first coat, make sure that it is dry before applying the second coat (when necessary). Following the last coat, ensure that all the traffic is not on the driveway during 24-48 hours.
The time taken in drying could be different with temperature and humidity. Better safe than sorry, consult the label of the sealer with particular recommendations.
Step 6: Regular Maintenance Tips
In order to maintain your asphalt driveway in great condition over the years:
- Sealer should be reapplied after every 2-3 years or when the surface becomes gray or fine cracks appear.
- Wipe the oil spills promptly to avoid staining.
- Sharp tools and snow shovels that have the ability to gouge the surface should be avoided.
- Turf the edges and ensure that they are free of grass and weeds so that they do not crack.
Common Mistakes to Avoid
Over-sealing: Sometimes more is not better: Once it is sealed it may peel or crack.
Skipping of prep work: Dirty cracks or unsealed cracks result in premature failure of sealer.
Protecting against the rain: The wetness or extreme weather destroys the finish.
Applying thick layers: Thick coats dry in patches and can be cracked.
One of the best home maintenance projects that can be undertaken by an individual is the sealing of a black top asphalt driveway. You can make your driveway look as richly black as before and prevent the elements and the wear and tear with the help of the right materials, good preparation, and several hours of work.