Imagine returning home from work. Arriving at your driveway to a perfect surface. The sealed coating instantly reflects sunlight, making your property more appealing. What is sealcoating? Why is it good for driveway longevity? Attempt it yourself. Should you hire a pro? Discussing seal coatings relevance. Provide a DIY tutorial.
Understanding the Importance of Sealcoating
Sealcoating helps driveways last. You can avoid cracks and potholes by coating against UV radiation, water damage, and strong chemicals.
Sealcoating protects your driveway from sun and moisture damage, making it necessary. Unsealed asphalt driveways degrade. Need costly repairs. Sealcoating protects your driveway from these factors.
Sealcoating offers your driveway a glossy appearance that boosts curb appeal and makes your home more attractive.
Sealcoating also prevents driveway oil spills and stains. As a barrier, the protective layer cleans impurities before they enter the asphalt.
The Benefits of Sealcoating a Driveway
Sealcoating protects your property from UV radiation, precipitation, snowfall, and chemicals while improving its appearance. Cracks are sealed to prevent moisture ingress. Completely eliminated.
Sealcoating prevents repairs. Sealcoating prevents oil spills, fuel leaks, and other surface damage and offers a consistent finish that is easy to clean and looks great.

Depending on usage and climate, seal your driveway every year for a lifetime. Preventing cracks and defects from becoming potholes or crumbling pavement extends the life of your driveway.
Sealcoating reduces homeowners’ maintenance costs and boosts curb attractiveness, which can increase property value if sold. Maintained driveways attract purchasers immediately.
Step-by-Step Guide for DIY Sealcoating
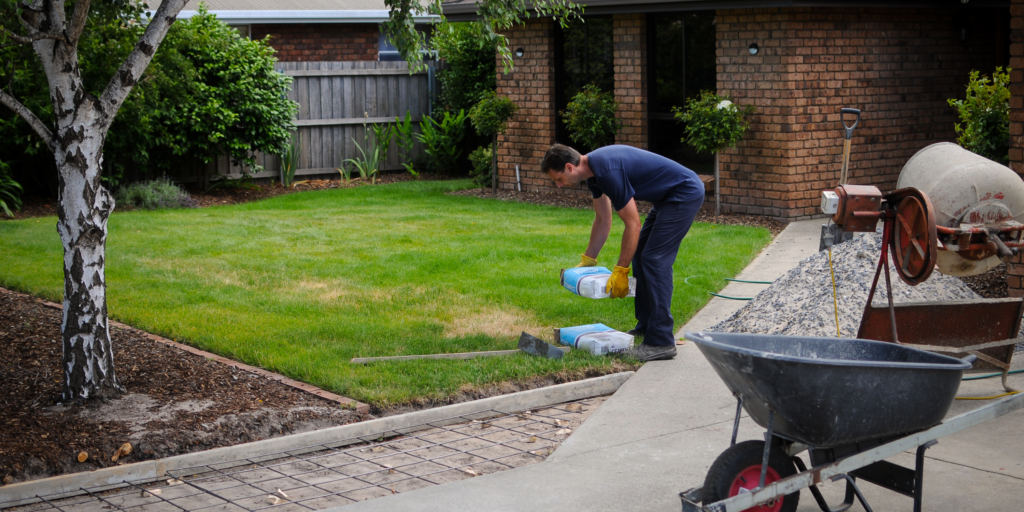
Step 1: Prepare the Driveway
Clean your driveway before sealcoating. A brush or leaf blower can remove sticks and leaves, while a power washer can remove oil and stains.
Step 2: Fill Cracks and Potholes
Check your driveway for cracks and potholes. Fill cracks with filler. Smooth with a trowel. Let the filler dry before continuing.
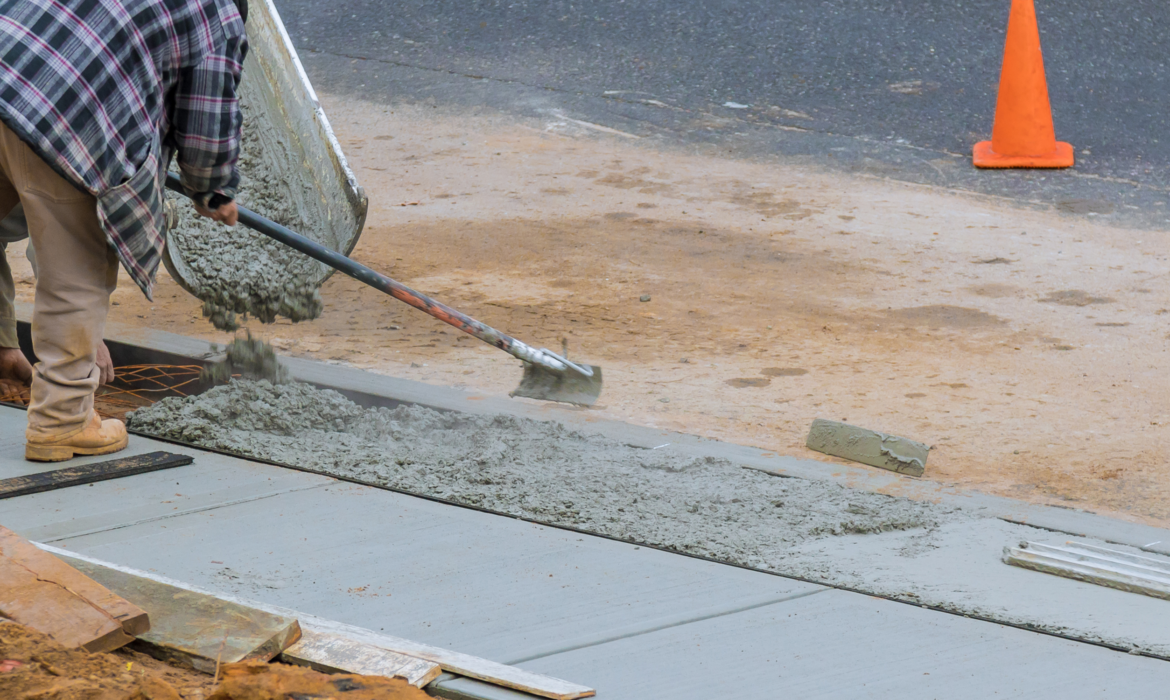
Step 3: Apply Sealcoat
Sealcoat your driveway according to its needs and surroundings. Asphalt sealers’ nature makes them popular. Apply seal coat evenly with a squeegee or brush.
Step 4: Spread Out Excess Sealcoat
Spread any surplus sealer evenly across your driveway after the first layer. This prevents pooling and uneven drying by covering thoroughly.
Step 5: Allow Time for Drying
Be patient! Allow enough time for the sealcoat to dry before driving on your newly sealed driveway. This usually takes 24–48 hours, depending on temperature and humidity.
You may seal coat your driveway yourself by following these procedures. Maintaining its longevity and attractiveness requires frequent maintenance!
Choosing the Right Sealcoat for Your Driveway
Choosing the correct seal coat for your driveway is vital. Knowing which solution is best for your needs will help protect and preserve your asphalt surface. Consider your driveway type first.
Consider your local climate. Choose a high-quality seal coat that resists UV rays, water damage, and other environmental elements if you live in a tough climate. Consider a glossy or matte finish. Some homeowners like their sealed driveways shiny. Choose a smooth, lustrous seal coat in such circumstances.
Signs that Your Driveway Needs to be Sealed
Asphalt driveways are durable but wear out. Weathering can damage and deteriorate where sealcoating comes in. How do you know when to seal your driveway? Watch for these signs:
1. Cracks: If your driveway is cracking, the asphalt is crumbling. Cracks let water and other things into the pavement, causing more damage.
2. Dying Color: Is your beautiful black driveway turning gray? This is UV oxidation from the sun. Sealcoating restores color and prevents fading.
3. Potholes: Not only are potholes unsightly, they can endanger drivers and pedestrians. Your driveway needs upkeep if potholes form.
4. Rough Texture: Constant use and harsh weather can make asphalt rough or uneven. Sealcoating removes flaws and revitalizes your driveway.
5. Water Pooling: If water pools on your driveway after rainfall or watering plants, the protective coating has worn off.
By seeing these indicators of wear and tear on your driveway, you can take preventative measures before more costly repairs are needed.
Hiring a Professional vs. DIY: Which is Better?
Sealcoating your driveway may require you to decide whether to hire a contractor or do it yourself. Both solutions have merits and cons, so examine them before choosing.
Professionals can ensure proper sealcoating because of their skills and experience. They know which materials and methods work best for your driveway, saving you time and money.
However, if you’re confident, DIY can save money. It gives you full control over every step and timing flexibility. You might also feel accomplished by doing this assignment alone.
Sealcoating requires sprayers and squeegees, which might be expensive if not accessible. Without sealcoating experience, inappropriate application or poor results are more likely.
Conclusion
Driveway sealcoating is essential. Learn about sealcoating and its many benefits to extend the life of your driveway and save money.
It’s important to seal coat your driveway regularly, whether you do it yourself or pay a specialist. DIY sealcoating beginners can learn from this article’s step-by-step approach. If you lack the time or experience, hiring a professional can provide you peace of mind that the task will be done right.
Remember, choosing the correct seal coat for your needs is crucial. Consider the weather and traffic before deciding. Follow driveway sealing indications to avoid costly repairs.