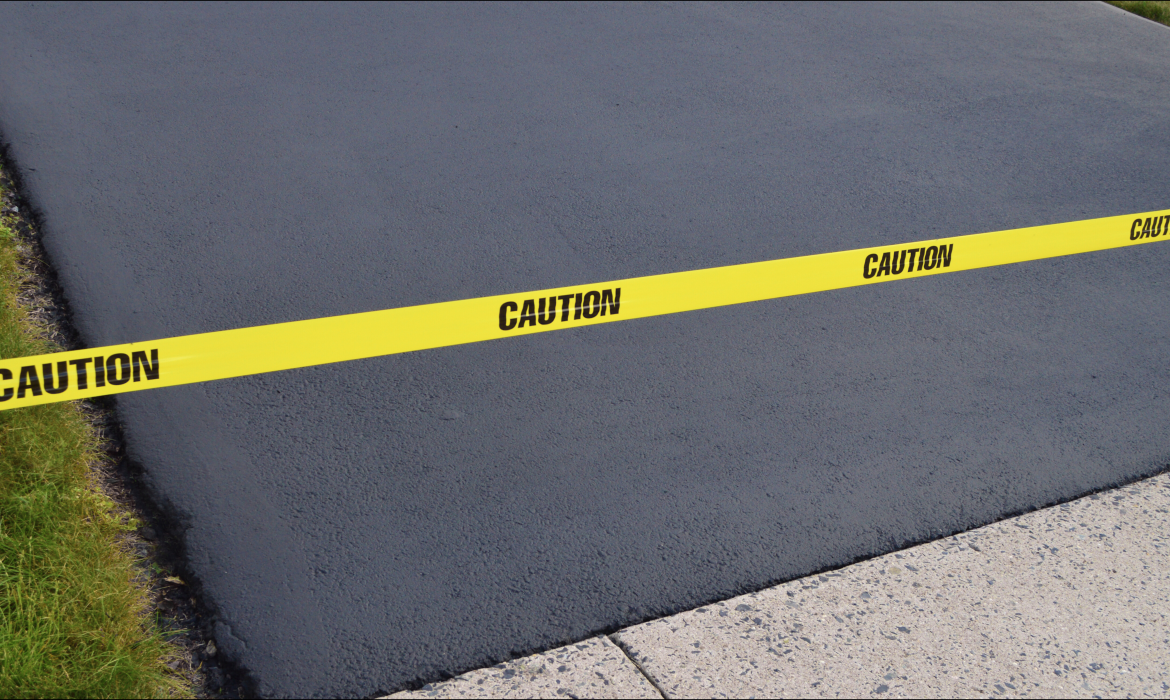
Regular maintenance of your asphalt driveway is important in its long-life and appearance. The surface can degrade over a period of time as a result of exposure to elements, heavy traffic of vehicles and wear and tear. Resealing is a wonderful way of avoiding further damages to your drive way and keeping it looking perfect. In this guide, we are going to take you through the procedure of resealing an asphalt driveway from preparation to application. Whether you are a DIY fanatic or a novice, this step-by-step guide will ensure that the job is easy and possible.
Why reseal your asphalt driveway?
Let us discuss why you have to reseal your asphalt driveway:
1. Protection from Weather: Asphalt may experience extreme weather conditions like UV rays, rain and snow. Resealing is a way to create a barrier for these elements.
2. Prevent Cracks and Potholes: A new seal coat can prevent the development of small cracks into more harmful and costly problems like potholes.
3. Enhance Appearance: A well-kept driveway will make your home look better from the street and raise its value.
4. Extend Lifespan: Regular resealing will help you extend the life of your asphalt driveway, and delay the need for significant repairs or replacement.

Step 1: Assess Your Driveway
The first thing you should do to reseal your driveway is to examine its condition. Look for any damages such as cracks; potholes; or where asphalt starts peeling. It is necessary to deal with these problems before the application of a sealant because a sealant over the damage can aggravate the condition.
Repair Cracks and Potholes
Cracks and potholes should be repaired before you start resealing. Use cold patch asphalt repair kit to fill small cracks and potholes. Clean it thoroughly, fill it up with the patching material and leave it to settle as per the instructions of the manufacturer.
Step 2: Clean Your Driveway
A good sealant is dependent on a clean surface. Start by cleaning your driveway by clearing the debris, leaves, and dirt. A power washer is an ideal tool that can clean out dirt and grime.
Sweep and Rinse
After power washing, sweep the surface to remove the loose debris. Wash the driveway using water to ensure that it is as clean and dry as possible. Allow it to dry very well prior to proceeding to the next step.
Step 3: Choose the Right Sealant
Proper selection of sealant is very critical in protection. There exist different types of sealants and all of them have their benefits.
1. Coal Tar-Based Sealers: These are famous for their strength and ability to withstand oil and gas spills and appropriate for high traffic areas. Nevertheless, they are very smelly and might have dangerous chemicals in them.
2. Asphalt-Based Sealers: These are not harmful to the environment and have lighter smell. They are good at protecting water and UV rays.
3. Acrylic Sealers: They are water-based and provide clear finish and enhances the natural look of asphalt. They are easy to apply, but could not be as long-lasting as tar-based sealers.
Step 4: Prepare the Sealant
The sealant has to be prepared before application. Combine and make the product as per the instructions on the manufacturer’s label. Make sure you have the right equipment like a brush, roller or a squeegee depending on the type of sealant to use.
Step 5: Apply the Sealant
The application of the sealant is the most important step. Apply these tips for a level and easy application.
Temperature and Weather Conditions
Before you start, check the weather forecast. The ideal temperature to use sealant is between 50°F and 85°F. Do not apply sealant during direct sunlight, raining, and windy conditions.
Application Tools
Use for small areas, brush or roller; for large areas, squeegee or sprayer. Start from one end of the driveway and make your way to the other end in order to achieve even coverage.
Layering
Apply the sealant in thin and even coats. Several thin layers make for better than one thick layer. Leave each layer to dry before adding the next one, as specified by the manufacturer’s drying time.
Step 6: Allow to Cure
After the application of the last coat of sealant, it is important to ensure that it cures well. The time required for this process will depend on the product and weather conditions; it is from 24 to 48 hours. Do not drive or park on the driveway during this period to avoid the damage of the sealant.

Step 7: Maintain Your Driveway
Regular maintenance after resealing the driveway will help to prolong the life and beauty of the driveway.
Here are some tips:
1. Regular Cleaning: Keep your driveway clean by sweeping and washing it to remove dirt and debris from it.
2. Prompt Repairs: Take care of any new cracks or damage immediately, to prevent them from worsening.
3. Avoid Harsh Chemicals: Use soft cleaning materials not to damage the sealant.
4. Reapply Sealant: Dependent on type of sealant and environmental conditions, re-apply after 2-5 years to provide protection.
Resealing your asphalt driveway is an easy procedure that will make your driveway stronger and more beautiful. This is if you spend enough time preparing and applying sealant properly, you can manage to have a long-lasting professional finish. Regular maintenance and timely resealing will guarantee your driveway keeps on its pristine condition, boosting your home’s value and providing you with a safe and smooth surface for years. Either if you choose to go ahead with this project yourself or if you hire a professional to help you, the cost of resealing your driveway will be worth the time and money.

