Driveways should be well-paved to serve a functional and attractive purpose. An asphalt driveway is a valuable asset that gives a house good curb appeal and offers a safe surface for car owners and pedestrians. In a driveway situation, every paving material can be viewed from either its positive or negative perspectives. Concrete, asphalt, and pavers are the most common choices, and each has different benefits for different applications.
Planning and Preparation: Key to Driveway Paving Success
Paving the driveway is a complex task that involves a significant amount of preliminary design and construction work. The plan’s goal is to have a clear goal and prevent costly mistakes. Before deciding, consider your budget, driveway size and slope, and local conditions. The materials and design of the driveway are also important to consider.
After making a plan, site preparation is necessary. The site must be leveled by removing rocks, trees, and other debris. Measure and mark the boundaries to ensure that the driveway’s outline is correct during construction. Inquire with the local authority office about the permit requirements for your project. These stages create a solid foundation for a smooth paving driveway project.

Choosing Driveway Materials: Asphalt, Concrete, or Pavers?
You will have the option to select between asphalt, concrete, and pavers for your driveway. Every material is different, which makes its properties unique and suitable for different conditions.
Cost-effectiveness and long life are the main reasons for asphalt’s popularity. It’s crack-resistant and heavy-duty. Concrete is a more finished and smooth kind of stone. Durability and low maintenance should be removed from the list of hallmarks. Paths made of brick or stone pavers are evergreen. They can be tailored in a multitude of ways.
Consider the budget, aesthetics, and maintenance when picking a material for your driveway. Also, consider the climate you will be in because some materials work better in bad weather.
DIY Driveway Paving Tools and Equipment
DIY driveway paving is possible only with the right tools and work materials. Shovels, rakes, wheelbarrows, and compactors are the things we need most. The tools help, in turn, to dig, level, and solidify dirt.
Safety devices are mandatory when working with heavy equipment and materials. Put on gloves, goggles, and a dust mask to protect yourself from the risk. If necessary, consider hiring or acquiring a compactor and a concrete mixer. To enhance project safety and efficiency, study how these tools are utilized.
How to Lay a Driveway Foundation
A durable base is essential for a driveway’s longevity. Dig to the specified depth while considering the slope for drainage. Grading soil after excavation will help level it. A strong driveway base can be constructed by compacting ground.
There will be no need for water collection and driveway damage if a sound drainage system is used. Install a French drain or catch basin to capture and channel driveway water. It reduces erosion and prolongs pavement service.
Place the pegs and cables in the driveway to create a solid surface. Ascertain the angle with a level so that water flows freely. Follow these recommendations to carry out a successful driveway paving project.
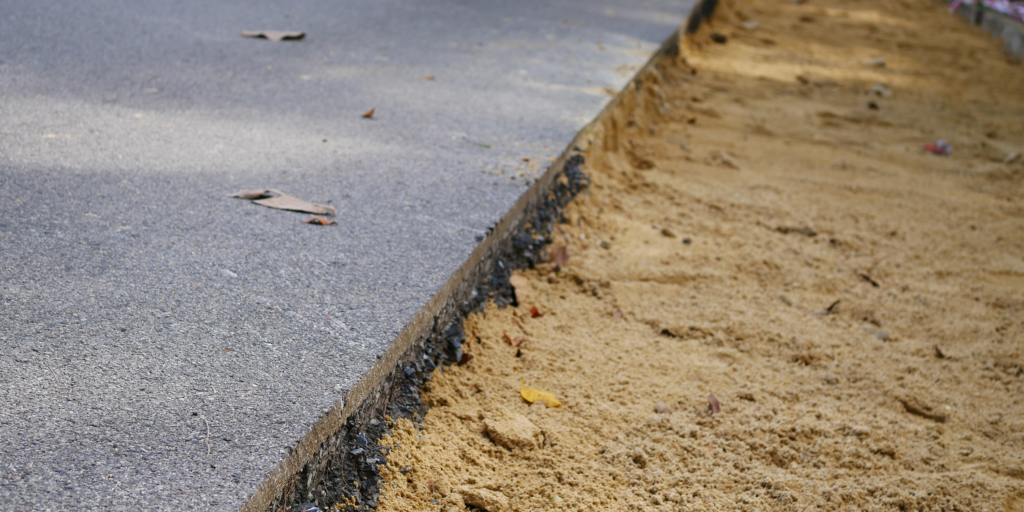
Driveway Edging and Drainage Installation Tips
The border of the driveway and the drainage are the main factors that affect its integrity. Concrete or plastic edging is a solution to prevent pavement from being moved/shifted. The type of materials for the edges of your driveway can be selected according to your preferences and design. Make sure to properly install the edging and securely anchor it into the ground.
In addition, a drainage system should be provided to prevent water damage. A French drain, which is a gravel-lined perforated pipe that surrounds your driveway, is where water is collected and sent off. These catch basins accumulate water and slowly drain it into the soil. Select and install a drainage system that works well with your driveway layout and water flow.
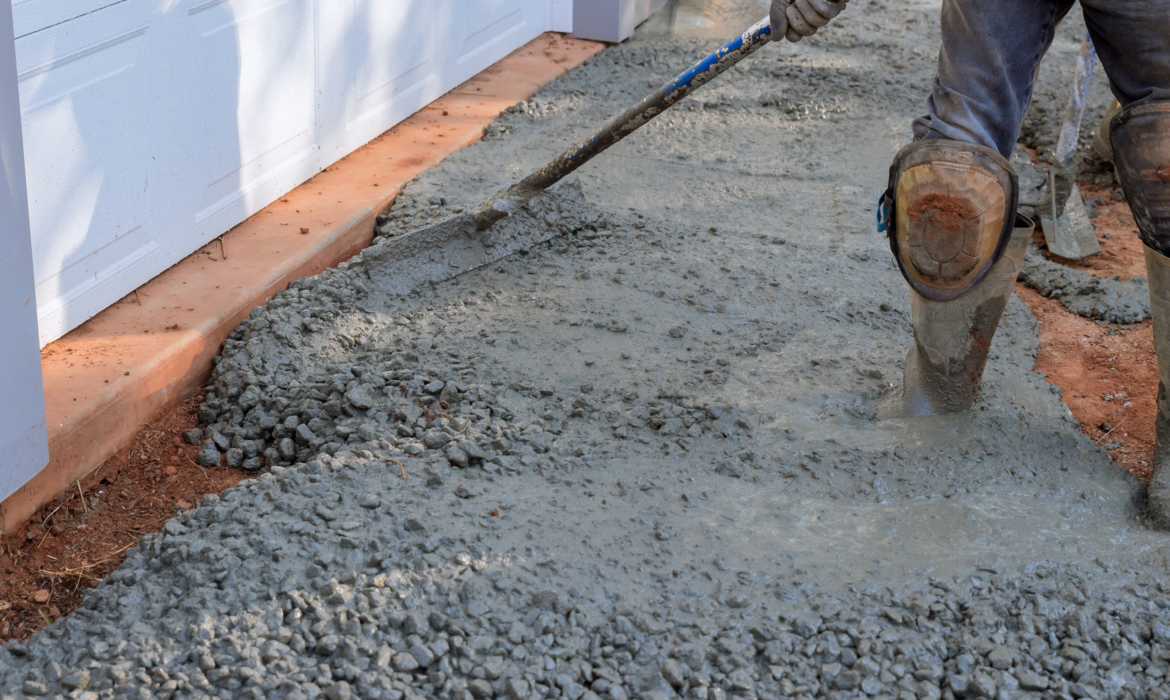
Applying the Final Asphalt or Concrete Layer for a Smooth Finish
The last touch of your driveway will be a smooth, good-looking finish of asphalt or cement. To begin, you need to clean and clear the surface. Then, follow the asphalt or concrete manufacturer’s instructions and pour the finish over the surface.
Use a screed or trowel to even out the compound. To hold the driveway thickness, work with slopes and curves. Work on edges and corners with a trowel or float.
For durability purposes, the material must be cured well before it is used. Refer to the manufacturer’s curing time and temperature. The freshly paved driveway should not be driven or loaded until it has had time to cure.
Driveway Maintenance: Preventing Cracks, Potholes, and Other Damage
Driveway maintenance is a perfect option to keep your driveway looking good. Preventing cracked potholes and erosions demands due to maintenance. Avoid using sharp objects and heaving machines, which can damage the surface. Keep your driveway free of stains so it does not discolor.
Sealing your driveway once a few years prevents it from being cracked and damaged by weather. Repair the damage rapidly so that it does not worsen. Fill voids and potholes using suitable materials and compact them.
A smooth driveway will also serve its purpose and look good. A successful driveway paving project relies on skillful planning, preparation, and the right material selection. Having applied the methods outlined here, you will subsequently create a driveway with a long service life that is also aesthetically pleasing.
Choose the right tool, stress safety when installing it, and use the right installation method. Regular maintenance can avoid damage to driveways and prolong their life expectancy. Proper paving and driveway maintenance will give you a smooth and attractive road into your home that will last for many years.