Sandstone is ideal for outdoor paving because of its natural beauty, hardwearing durability, and versatility. Although it is a little challenging to install, sandstone can serve for several years after installation has been done and the sandstone has been set correctly and well maintained. In this guide, we will focus on the main stages of installing sandstone pavers so clients can have a well-designed paved area.
Selection of Site and Site Development
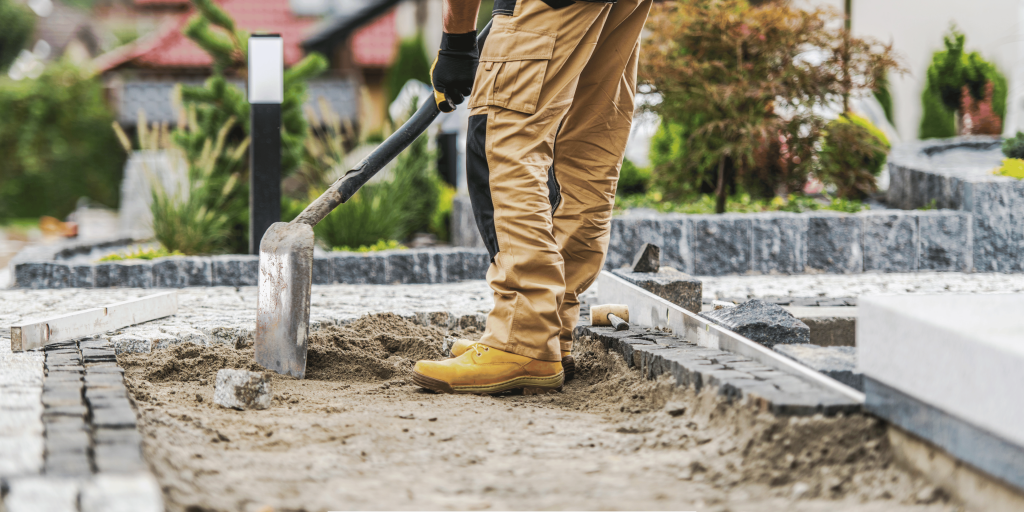
When choosing a location for sandstone pavers, ensure that the area is flat or has a very slight incline towards a drain and that the area is exposed to direct sunlight. This ensures that rain and water do not accumulate around or in the house so moisture will drain away as it should. Stake out the area you want to pave so that it can accommodate your size and ease of access needs. Moisten the area, then clear all vegetation, such as grass, plants, and tree roots, right to a 200mm depth. Enlarge an irregular trench to a corner angle to avoid soil from sliding down and accumulating on the pavers later.

Installing the Base Layer
Another consideration when using sandstone pavers is the base upon which they are laid to ensure proper drainage and to avoid movement or settling. Spread a layer of coarse gravel or crushed stone on the ground and level it 8 to 12 inches thick. Then compact with a plate compactor. Subsequently, place a 1 to 2 inch layer of coarse sand on top of it topped with boards to level the screed. The sand layer also assists to level out any depressions or high areas in the base layer. Do not walk on screeded sand before placing the pavers down.
Laying the Pavers
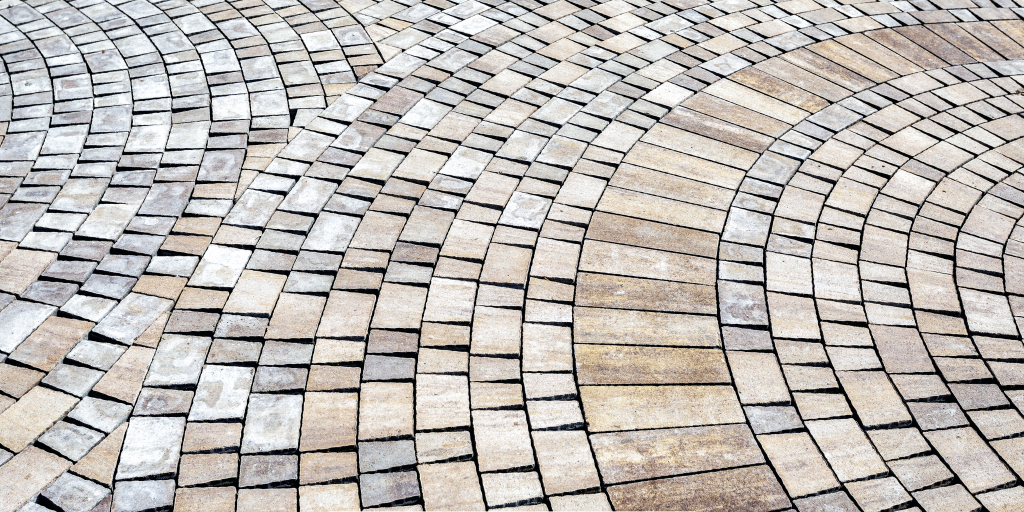
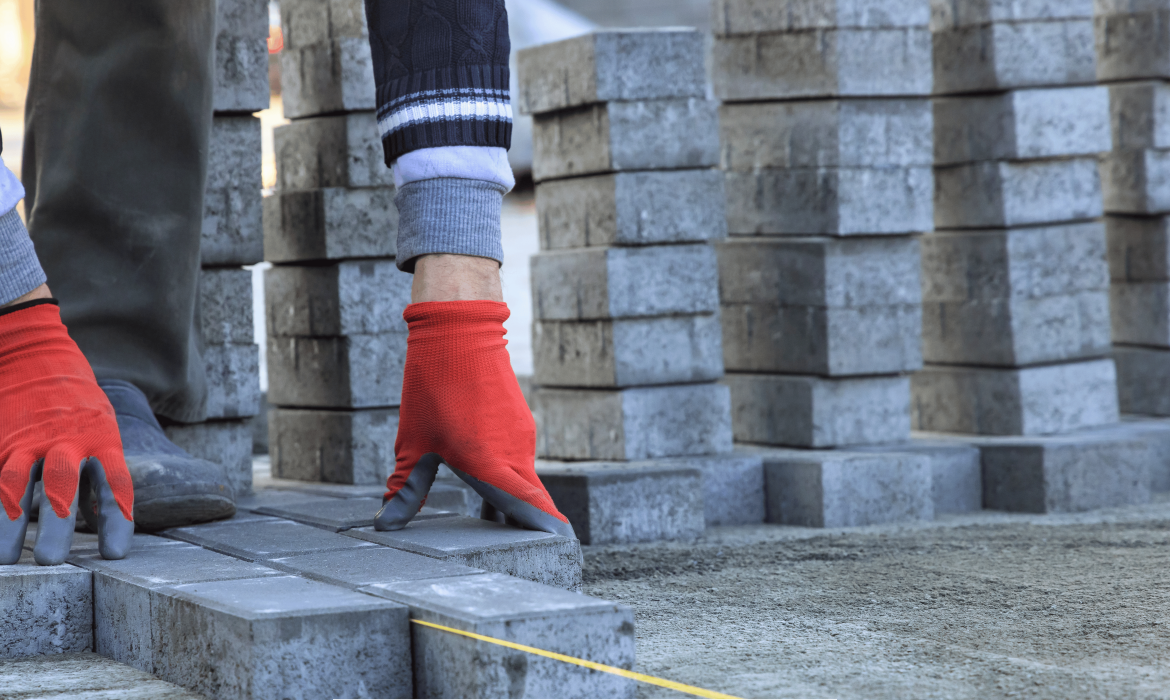
Before placing the pavers, one should look at the required pattern, because interlocking patterns enable load distribution. Dry lay the outline border pavers first. Place these and use landscape adhesive to hold them since they are used outdoors. Joint placement of the pavers should be made in sections filling inside the borders while leaving room for expansion of about 1/8-to-1/4-inch gap. Trim edges as necessary to form the remainder of the pattern or to fit curvatures/angles. Reduce by striking it with a rubber mallet to make it stay still. Use polymeric sand for the seams. Sweep and tamp until the sand is entirely between the pavers to interlock fully. Do not walk on the pavers at this stage of construction.
Final Steps
Ensure no traffic is allowed on the newly laid sandstone pavers for 24 to 48 hours to minimize damage. This gives time for sand to fill the gaps, and at the same time, there will be time to notice those pavers that are slightly raised and require leveling. Scatter off any residual sand or any other dirt that might be on the surface. Then seal the floor for the first time to minimize staining and ensure a smooth future sealing process. Apply the sealant again where necessary, depending on the wear and tear it experiences from regular use over some time. Do not use pressure washing or acidic cleaning products, as this can erode the sandstone. When well-installed and maintained, sandstone pavers provide a unique, aesthetically pleasing appearance that will remain popular for years.

Tips for Success
– Always identify the location of the underground utility before digging to avoid causing harm to the utilities.
– Inter-space pavers by 1/8 to 1/4 inch to provide room for water drainage and sand distribution.
– Reduce tamping of pavers throughout the project to minimize future movement of pavers.
– Kick-off excess sand after tamping to ensure that it does not dry on the surface.
– Seal pavers after installation to reduce the ease of dirt accumulation and make the surface less susceptible to stains.
– Check occasionally for weeds/damage and take necessary action immediately.
Conclusion
By paying attention to the base and using some tips described above, almost anyone can lay beautiful and durable sandstone pavers, even without any experience in DIY. Sandstone has natural colors and grain that blend well with any natural environment in a landscape. Proper spacing, tamping, and sealing should be done to increase the durability of the concrete structure. Some of the recommendations regarding the maintenance of sandstone paving include washing them occasionally and applying protective coats after some time. The effort you will spend initially will be with the installation process, which, if done correctly, will enable you to enjoy your beautiful sandstone surface for decades of outdoor living.

