Paving with asphalt can create roads, driveways, and parking lots that are smooth and last a long time. It might sound easy, but the process involves planning ahead, preparing, and executing everything correctly. This blog will explain how to lay asphalt for anyone interested in building roads, whether they are a homeowner or a business owner.
Understanding Asphalt
First, it is necessary to understand what asphalt is. Asphalt is composed of aggregates (sand, gravel, and crushed stone) and bitumen—a sticky, black liquid which holds everything together. The combination makes it strong, flexible, and long lasting.
Various types of asphalt include:
Hot Mix Asphalt (HMA): This type is the most common used on highways and driveways. It is applied at high temperatures for durability.
Warm Mix Asphalt (WMA): This type emits fewer air pollutants and uses less energy because it is made at cooler temperatures.
Cold Mix Asphalt: This variety is used for temporary repairs and patching in cold climate.
Steps to Laying Asphalt
1. Planning and Preparation
Site Inspection and Design
The first thing to be done in asphalt paving is to assess the area. Contractors visit the site to decide on the drainage needs, soil stability, and the best design for the pavement. Wth a proper design, an asphalt surface will last for years without premature damage.
Clearing and Excavation
The site must be cleared of debris, vegetation, and old pavement (if any) before any paving begins. Unsuitable materials are excavated, and a stable base layer is reached, if needed.
2. Establishing the Base
Grading and Slope Adjustment
The water drainage must be correct, so the ground must be graded. Asphalt, when water pools on it, can cause cracks and potholes, so it is important to have a slight slope.
The Base Layer is Added
The area is covered and compacted using rollers with crushed stone or gravel. This makes the foundation more stable and less likely for the asphalt to start shifting or downing over time. The base layer thickness is dependent upon the load that is expected. Typically, a 4 to 6-inch base is used for residential driveways and 8 to 12 inches for commercial roads.
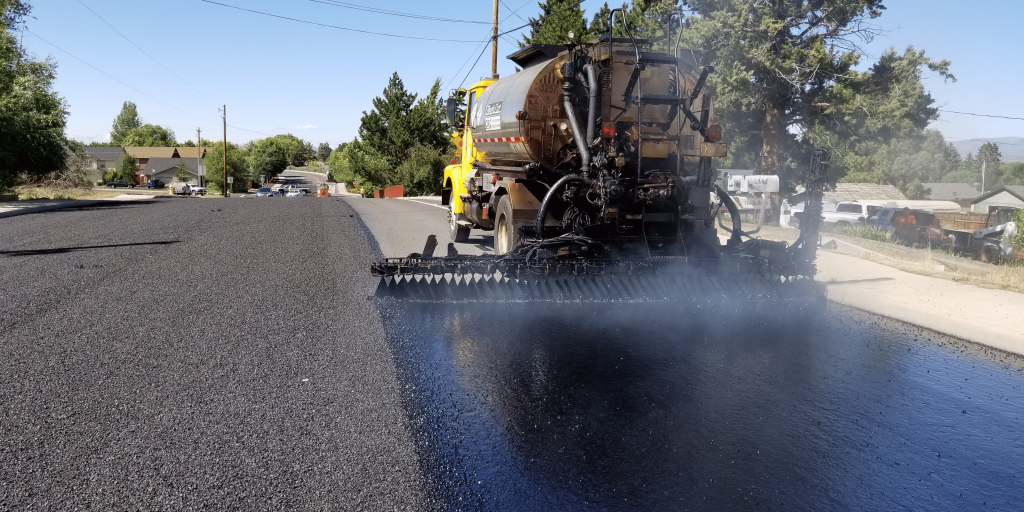
3. Applying the Binder Layer
The bitumen in the binder layer is a mix of large aggregates and bitumen. The asphalt pavement’s strength lies in this layer. The stone is spread evenly and compacted to make a solid base for the top asphalt layer.
In areas with heavy vehicle traffic, binder layers will help absorb stress so that surface cracks are not formed.
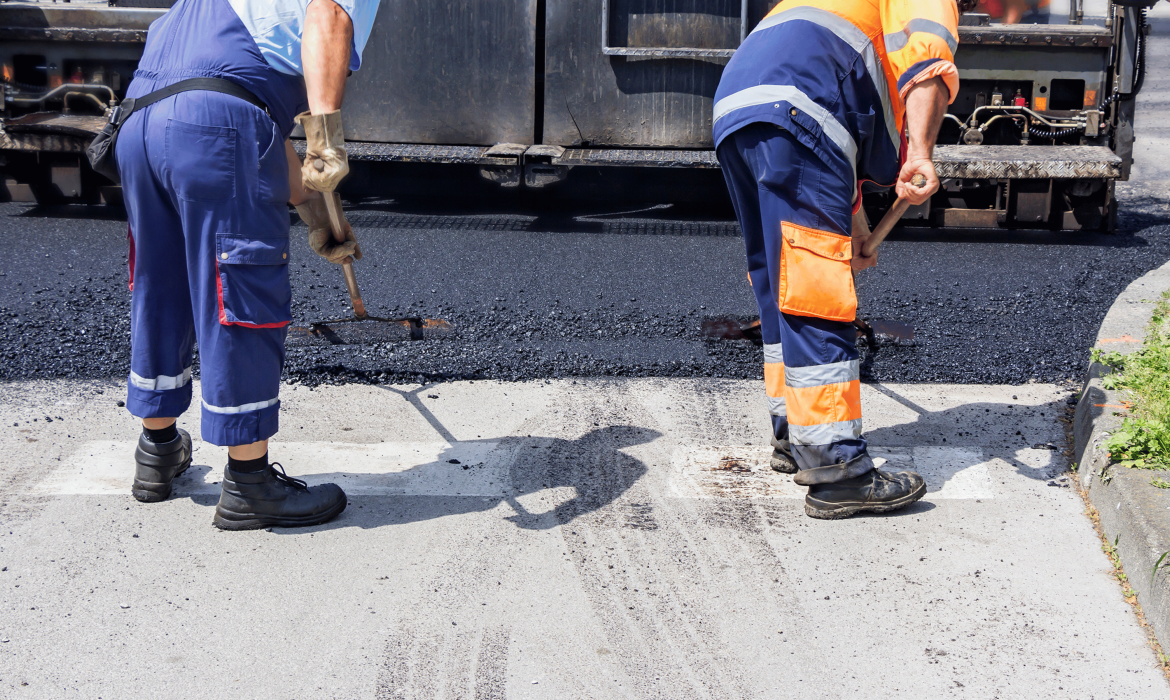
4. Laying the Asphalt Surface Layer
Hot Mix Asphalt Application
Hot mix asphalt (HMA) is the final layer and is delivered hot so that it will bond properly. A paving machine is used to spread the concrete evenly, so that it is smooth and consistent. For example, most often the top asphalt layer typically is 1.5 to 3 inches thick, depending on the type of pavement being constructed.
Compacting the Asphalt
The asphalt is then laid, and following that, heavy rollers compact it out so that air pockets are removed and the surface is dense and strong. Compaction of the pavement prevents premature wear and extends the life of the pavement. To make sure the asphalt is properly dense, it must be compacted while it is still hot. Weak spots and early deterioration can occur from poor compaction.
5. Final Touches and Curing
Edge Work and Transitions
The edges and joints should look like they belong on the sidewalk or ground. To keep water from getting into the joints and weakening the sidewalk over time, it is important to build them correctly.
Cooling and Curing Time
After asphalt is freshly laid, it must be allowed to cool and cure. It can be used after 24 hours, but it takes several days to fully cure. During this time, surface damage can be mitigated by avoiding heavy traffic and sharp turns. The time it takes for the asphalt to fully set in hot weather may be longer, so extra caution is needed during the curing period.
6. Sealing and Maintenance
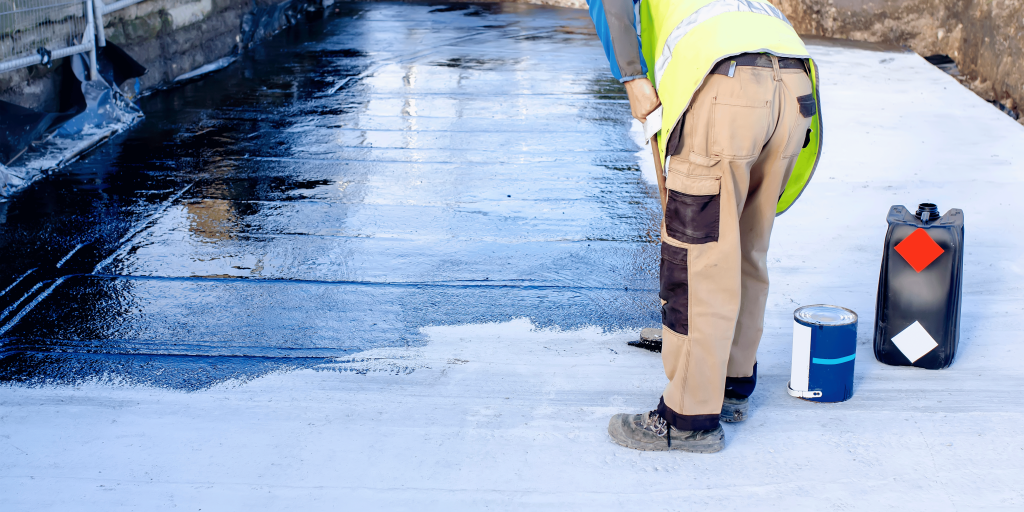
Applying a Sealcoat
After a few months, sealcoating is applied to extend the lifespan of the asphalt. This protective layer shields against water, UV rays, and chemicals. It also restores the dark black color of fresh asphalt, making it look newer and more aesthetic. To protect and prevent early degradation, a sealcoat should be reapplied every 2 to 3 years.
Regular Maintenance
Filling of cracks and repairing of potholes will maintain the road in top condition.
• Crack Filling: Prevents water from entering and causing more damage.
• Pothole Repair: Prevents the bigger structural issues and improves safety.
• Resurfacing: This is a layer of asphalt placed over an existing one, which extends its life without a complete replacement.
7. Factors Affecting Asphalt Longevity
There are several factors that determine the actual life of an asphalt roadway or paving:
• Climate: Cracks can be caused by extreme heat and cold that causes expansion and contraction.
• Heavy vehicles: Vehicles cause more stress on the pavement, hence stronger base layers and maintenance are required.
• Quality Installation: The installation of asphalt must be done properly, as even the slightest mistake can lead to a quick deterioration of the asphalt.
• Poor Drainage: Poor drainage can cause potholes and cracks.